Juggling dinner plans while juggling a toddler’s sudden meltdown and realizing the only thing in the fridge that might save the night is a sad half-cucumber? That’s exactly where these fresh garlic dill refrigerator pickles were born — in the middle of chaos and “what do I even feed these little monsters now?” panic. I grabbed what I had: crisp cucumbers, a bulb of garlic, some fresh dill from the windowsill, and a few pantry staples. Tossed everything into a jar with a quick brine, and waited. Honestly, I wasn’t expecting much, but that first crunchy bite a couple of days later? Game changer.
These pickles aren’t just a last-minute fix; they became a little secret weapon in my kitchen. The sharp garlic and fragrant dill hit just the right notes, and the crunch? Crisp enough to make you forget they’re fridge pickles, not the classic canned kind. Plus, I love how easy they come together — no canning skills, no complicated steps, just simple ingredients doing their thing.
What really stuck with me is how these pickles bring that fresh, homemade vibe to the table without a fuss. They’ve since become a staple for adding zing to sandwiches, salads, or even just snacking straight from the jar. I’m pretty sure you’ll find this recipe just as handy, especially when life throws you those unexpected “what’s for dinner?” moments. And hey, if you like the crisp bite of these dill pickles, you might enjoy pairing them with dishes like the healthy high-protein quinoa and black bean salad for a light, refreshing meal.
Why You’ll Love This Recipe
- Quick & Easy: Ready in under 10 minutes prep time, and just a few days chilling in the fridge. Perfect for those busy weeks when you want something fresh without a ton of work.
- Simple Ingredients: No need to hunt down obscure spices or fancy jars. This recipe uses basic kitchen staples and fresh herbs you can grow yourself or grab easily.
- Perfect for Snacks & Sides: Ideal for sandwiches, burgers, or even as a crunchy side for your sticky teriyaki tofu stir fry. It adds that punch of flavor and texture you didn’t know your meal was missing.
- Crowd-Pleaser: The balance of garlic and dill is bold but not overpowering — a hit with kids and adults alike (even the pickle skeptics).
- Unbelievably Delicious: The fresh garlic gives it a warm, aromatic kick while the dill adds that classic pickle tang. The crispness stays intact, making every bite satisfyingly crunchy.
This isn’t just your run-of-the-mill pickle recipe. The magic lies in the fresh garlic slices that infuse the brine, creating a flavor that’s both vibrant and mellow. Plus, the simple refrigerator method means you don’t have to mess with hot water baths or waiting weeks to taste your pickles. It’s practically a shortcut to crunchy, flavorful homemade goodness.
What Ingredients You Will Need
This fresh garlic dill refrigerator pickle recipe uses straightforward ingredients that work together to create that perfect crunch and tang. Most are pantry staples, with fresh dill and garlic bringing the standout flavors. Feel free to swap or scale based on what you have at hand.
- Cucumbers: 4-5 medium Kirby or Persian cucumbers, washed and sliced into ¼-inch thick rounds or spears (Kirby cucumbers are best for crispness).
- Fresh garlic: 4-5 cloves, thinly sliced (the star of the show — gives that punchy garlic flavor).
- Fresh dill: About 4-5 sprigs with fronds, roughly chopped (look for bright green, aromatic dill; avoid wilting stems).
- White vinegar: 1 cup (240 ml) — this sharpness keeps your pickles tangy and crisp.
- Water: 1 cup (240 ml) — balances the vinegar to keep the acidity just right.
- Salt: 1 tablespoon kosher salt or pickling salt (table salt can be used but use slightly less).
- Sugar: 1 teaspoon (optional but it rounds out the sharpness).
- Black peppercorns: 1 teaspoon whole (adds a subtle spicy note).
- Red pepper flakes: ¼ teaspoon (optional, for a bit of heat).
Pro tip: I usually stick with kosher salt because it dissolves nicely without any additives that might cloud the brine. If you’re after a gluten-free or paleo version, this recipe fits well, just double-check your salt brand. And if fresh dill isn’t in season, dried dill weed can work, but use about a tablespoon instead of fresh.
Equipment Needed
- Glass jars with lids: Quart-sized Mason jars or any clean glass container that seals well. I prefer Mason jars because they’re sturdy and easy to store, but any airtight jar works.
- Measuring cups and spoons: For accurate brine ratios — trust me, getting the salt and vinegar right is key.
- Sharp knife: For slicing cucumbers and garlic thinly and evenly.
- Mixing bowl: To combine the brine ingredients before pouring.
- Small saucepan: Optional, if you want to slightly warm the brine to dissolve salt and sugar faster. But cold brine works fine too.
For budget-friendly options, reuse old pickle jars or any glass container with a tight-fitting lid. Just make sure everything is well cleaned and sterilized to keep your pickles fresh longer. I’ve also found that a mandoline slicer helps get even cucumber slices if you want ultra-consistent crunch.
Preparation Method
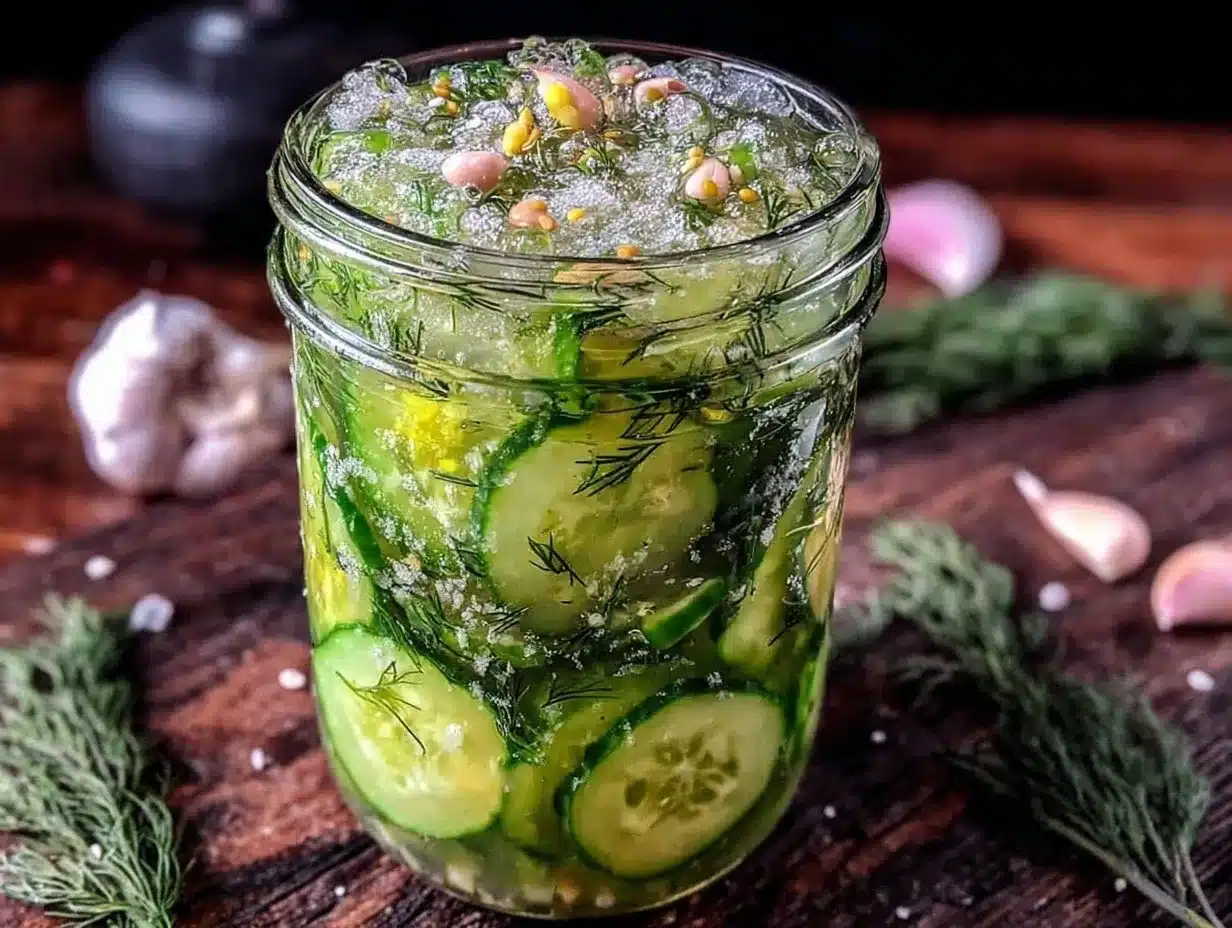
- Slice the cucumbers: Wash and trim the ends off the cucumbers. Slice into ¼-inch thick rounds or spears depending on your preference. The thinner the slice, the quicker the pickles develop flavor — plan on about ½ inch thickness for a satisfying crunch that holds up well.
- Prepare the brine: In a mixing bowl, combine 1 cup (240 ml) white vinegar, 1 cup (240 ml) water, 1 tablespoon kosher salt, and 1 teaspoon sugar. Stir until the salt and sugar are fully dissolved. You can warm it gently in a saucepan to speed this up, but cold brine is fine if you stir well.
- Layer the jar: Place a few sprigs of fresh dill and sliced garlic cloves at the bottom of your jar. Add a teaspoon of whole black peppercorns and red pepper flakes if using.
- Add cucumbers: Pack the sliced cucumbers tightly but without squeezing too much — you want them snug but not mushy.
- Pour the brine: Slowly pour the brine over the cucumbers, making sure they’re fully submerged. Leave a little headspace at the top.
- Seal and refrigerate: Screw the lid on tight and give the jar a gentle shake to distribute spices. Place the jar in the fridge for at least 48 hours before tasting. They’ll keep for up to 2 weeks, but the flavor and crunch are best within the first week.
If your pickles start tasting too salty or vinegary, try rinsing a few slices under cold water before serving. Also, if the cucumbers soften too much, a quick soak in ice water for 15 minutes before slicing can help maintain that crunch.
Cooking Tips & Techniques
Honestly, making refrigerator pickles is forgiving but a few tricks will make your batch stand out. First, always use fresh, firm cucumbers — limp or overripe ones will give you soggy results. My go-to is Kirby cucumbers, but Persian cucumbers can work too.
Thin, even slices soak up the brine quicker, so take your time slicing. Using a mandoline is a lifesaver for this and keeps things consistent. Also, don’t skimp on the garlic — fresh slices add that punchy aroma and flavor, but be careful not to overpower your pickles. A little goes a long way.
When mixing the brine, dissolving salt and sugar fully is key. If you want your pickles crispier, adding a small piece of grape leaf or a pinch of tannins can help, but it’s not necessary for most home cooks. And while the pickles are ready to enjoy after 48 hours, the flavor deepens after a few more days, so patience pays off.
Lastly, make sure your jars and lids are clean and dry before packing. A clean environment means longer-lasting pickles and less chance of spoilage.
Variations & Adaptations
There’s room to play with this recipe based on what you love or what you can tolerate:
- Spicy Kick: Add more red pepper flakes or a sliced jalapeño for heat.
- Herb Twist: Swap dill for fresh tarragon or add fresh thyme sprigs to change the flavor profile.
- Low-Sodium: Reduce salt by half and increase refrigeration time slightly to compensate.
- Vegan Garlic Dill Pickles: This recipe is naturally vegan, but if you want to avoid sugar, use a sugar substitute like stevia or omit it altogether.
- Quick Pickles: Cut the cucumbers into thinner slices or ribbons to speed up the pickling time, perfect if you’re craving crunch ASAP.
One personal favorite twist is adding a splash of lemon juice to brighten the brine—gives it an extra layer of freshness that pairs beautifully with the garlic. It’s a little like a cross between classic dill pickles and a lemony cucumber salad.
Serving & Storage Suggestions
These fresh garlic dill refrigerator pickles are best served cold, straight from the fridge. They make an excellent crunchy side for sandwiches, burgers, or even as a tangy topping on tacos and wraps. I often pair them with dishes like the Mediterranean chickpea hummus bowls to add that refreshing crunch and flavor contrast.
Store the pickles in the refrigerator in their brine, tightly sealed. They stay crisp and flavorful for up to two weeks, but I recommend enjoying them within the first week for best texture. If you want to extend their life, you can top off the jar with fresh brine halfway through storage.
When reheating isn’t necessary — these are best cold or at room temperature. If you notice the pickles softening too much, try transferring them to a new jar with fresh brine to revive the crunch. Also, the flavors tend to mellow and blend over time, so they taste even better after a day or two.
Nutritional Information & Benefits
Fresh garlic dill refrigerator pickles are low in calories and carbs, making them a great snack or side for health-conscious eaters. A serving (about 3 slices) has roughly 10-15 calories, with minimal fat and protein.
Garlic offers natural antioxidants and has been linked to immune support, while dill contains vitamins A and C plus minerals like calcium. The vinegar provides probiotics if raw and unpasteurized, which can aid digestion.
This recipe is naturally gluten-free, vegan, and paleo-friendly. Just watch your salt intake if you’re on a low-sodium diet.
Conclusion
These fresh garlic dill refrigerator pickles are the kind of recipe that sneaks into your routine and never leaves. They’re quick to make, need minimal ingredients, and deliver that satisfying crunch and bold flavor every time. I love how they bring a homemade touch to everyday meals without the fuss of traditional canning.
Feel free to tweak the garlic, dill, or spice levels to suit your taste — it’s your kitchen, after all! And if you try them, I’d love to hear how you use your pickles or any fun twists you add. Sharing recipes like this is what makes cooking feel a little less like a chore and a lot more like a shared adventure.
Happy pickling, and here’s to crunchy, garlicky goodness in every bite!
FAQs About Fresh Garlic Dill Refrigerator Pickles
How long do refrigerator pickles last?
They typically stay fresh and crunchy for up to 2 weeks when stored in the fridge. For best texture, enjoy within the first week.
Can I use regular cucumbers instead of Kirby cucumbers?
You can, but Kirby or Persian cucumbers are preferred for their firm texture which helps keep pickles crunchy.
Do I need to boil the brine for refrigerator pickles?
Nope! You can dissolve the salt and sugar in cold water and vinegar, though warming helps dissolve them faster.
Can I make these pickles without garlic?
Yes, but garlic is a key flavor in this recipe. You might want to add extra dill or other spices to balance the flavor.
How can I make my pickles crunchier?
Using fresh, firm cucumbers and slicing them evenly helps. Soaking slices in ice water before pickling or adding a grape leaf to the jar can also boost crunch.
Pin This Recipe!
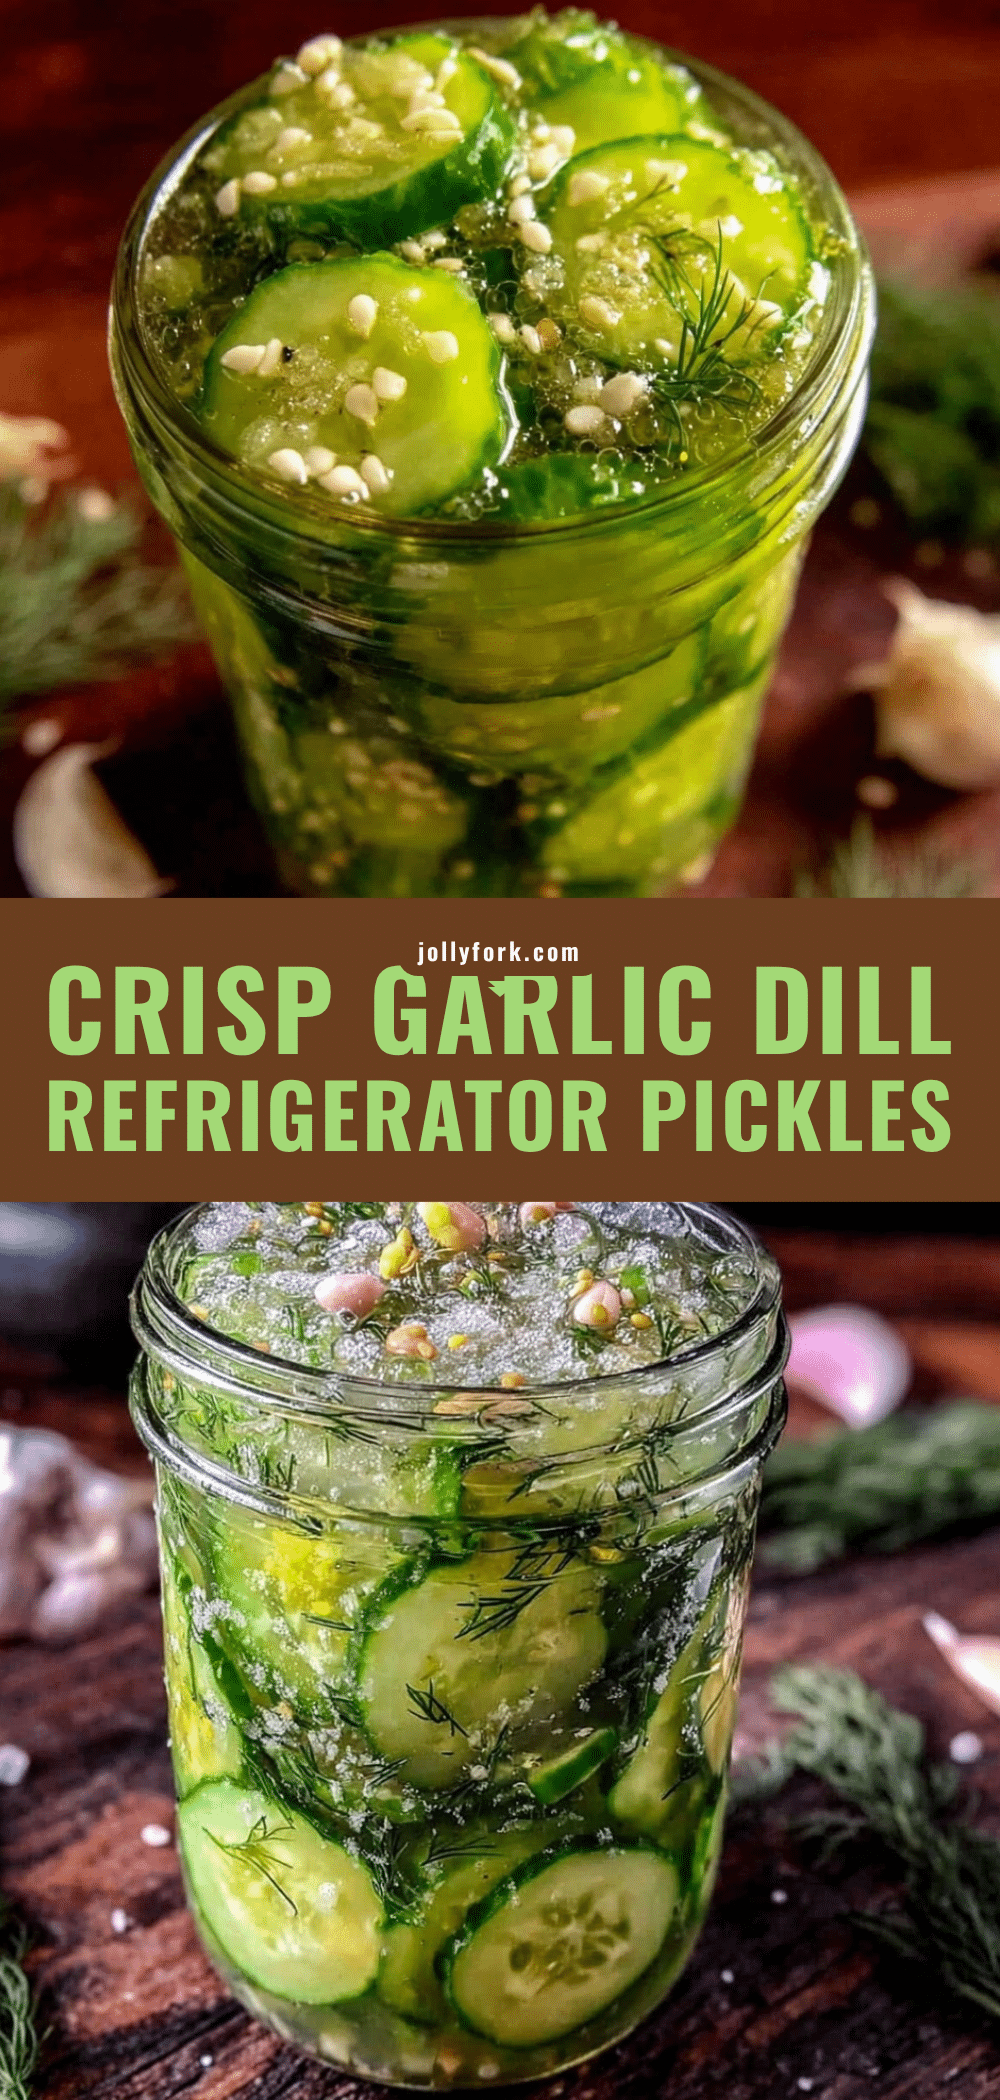
Fresh Garlic Dill Refrigerator Pickles Easy Homemade Crunch Recipe
These fresh garlic dill refrigerator pickles are quick and easy to make, delivering a crunchy, flavorful homemade pickle without the fuss of canning. Perfect for snacks, sides, and adding zing to meals.
- Prep Time: 10 minutes
- Cook Time: 0 minutes
- Total Time: 2 days (minimum refrigeration time)
- Yield: 4-5 servings 1x
- Category: Side Dish
- Cuisine: American
Ingredients
- 4–5 medium Kirby or Persian cucumbers, washed and sliced into 1/4-inch thick rounds or spears
- 4–5 cloves fresh garlic, thinly sliced
- 4–5 sprigs fresh dill with fronds, roughly chopped
- 1 cup (240 ml) white vinegar
- 1 cup (240 ml) water
- 1 tablespoon kosher salt or pickling salt
- 1 teaspoon sugar (optional)
- 1 teaspoon whole black peppercorns
- 1/4 teaspoon red pepper flakes (optional)
Instructions
- Wash and trim the ends off the cucumbers. Slice into 1/4-inch thick rounds or spears depending on preference.
- In a mixing bowl, combine white vinegar, water, kosher salt, and sugar. Stir until salt and sugar are fully dissolved. Optionally warm gently to dissolve faster.
- Place a few sprigs of fresh dill and sliced garlic cloves at the bottom of a clean glass jar. Add black peppercorns and red pepper flakes if using.
- Pack the sliced cucumbers tightly but without squeezing too much into the jar.
- Pour the brine over the cucumbers, ensuring they are fully submerged. Leave a little headspace at the top.
- Seal the jar tightly and shake gently to distribute spices. Refrigerate for at least 48 hours before tasting.
- Enjoy within 1 week for best texture; pickles keep up to 2 weeks refrigerated.
Notes
Use fresh, firm cucumbers like Kirby or Persian for best crunch. Thin, even slices absorb brine faster. Dissolve salt and sugar fully for balanced flavor. If pickles taste too salty or vinegary, rinse slices under cold water before serving. To maintain crunch, soak cucumbers in ice water for 15 minutes before slicing. Clean and dry jars and lids thoroughly to prevent spoilage. Variations include adding jalapeño for heat, swapping dill for other herbs, or reducing salt for low-sodium diets.
Nutrition
- Serving Size: About 3 pickle slice
- Calories: 1015
- Sugar: 1
- Sodium: 600
- Carbohydrates: 3
- Fiber: 0.5
- Protein: 0.3
Keywords: garlic dill pickles, refrigerator pickles, easy pickles, homemade pickles, quick pickles, crunchy pickles, vegan pickles, gluten-free pickles


