“You need to make that syrup again. The dark one. I swear it kept me from getting sick last winter.” My neighbor Maria said this to me through the kitchen window, holding up a jar of store-bought cold medicine like it was a personal insult. She wasn’t wrong. I had made a batch of homemade elderberry syrup back in November, gave her a small jar as a thank-you for grabbing my mail while we were out of town, and completely forgot about it. But she didn’t forget. She texted me three times that week asking when the next batch would be ready. That’s how I knew this recipe wasn’t just another kitchen experiment—it was something worth sharing.
I first started making homemade elderberry syrup a few years ago, not because I was some wellness guru, but because I was tired of spending twenty bucks on tiny bottles at the health food store that my kids would refuse to take. The store-bought stuff always tasted like medicine trying to pretend it was candy. My version? It actually tastes good. Like a dark, spiced, slightly tart berry syrup you’d want to drizzle on pancakes—if pancakes were a immune system booster. And honestly, the fact that it works makes me feel like some kind of kitchen witch every time I pour a spoonful into a cup of hot tea.
This homemade immune-boosting elderberry syrup recipe is the one I’ve settled on after years of tweaking. It uses dried elderberries, fresh ginger, cinnamon sticks, cloves, and raw honey. Nothing fancy. Nothing you can’t find at a decent grocery store or online. What makes it special is the balance—not too sweet, not too spicy, with just enough honey to make it palatable for even the pickiest kid. I make a big batch every fall and keep it in the fridge all winter. It’s become as routine as changing the furnace filter or digging out the heavy coats. And every time I take that first spoonful of the season, I feel a little bit more prepared for whatever germs are coming my way.
Why You’ll Love This Recipe
This isn’t just another wellness trend that’ll collect dust in your pantry. This homemade elderberry syrup has become a staple in my kitchen, and here’s why it will in yours too:
- Simple Ingredients : You don’t need a specialty health food store or a second mortgage. Dried elderberries, a few spices, and raw honey. That’s it. Most of these are probably already in your pantry if you do any kind of baking or tea-making.
- Quick & Easy : From start to finish, this takes about an hour. Most of that time is just simmering on the stove while you do other things. No complicated techniques, no special equipment.
- Cost-Effective : A single batch costs a fraction of what you’d pay for store-bought syrups. And you get to control the quality of every ingredient.
- Kid-Approved : My kids actually ask for this. They think it’s a treat. I don’t correct them. The honey and spices make it taste like a cozy fall dessert, not a medicine.
- Customizable : You can adjust the sweetness, the spice level, even the type of honey. This recipe is a starting point, not a rulebook.
What really sets this recipe apart is the technique. I don’t boil the honey. That’s the biggest mistake people make with elderberry syrup. Heat destroys the beneficial properties of raw honey, so I always let the elderberry mixture cool completely before stirring it in. It’s a small detail, but it makes a huge difference in both flavor and effectiveness. I learned this the hard way after ruining my first two batches.
This recipe also isn’t just about immune support—though that’s the main reason I make it. It’s about having something in your fridge that makes you feel prepared. That little bit of control during cold and flu season. And honestly, it’s about the ritual. The smell of elderberries and cinnamon simmering on the stove is one of the most comforting things I know. It’s like a warm hug in a jar.
What Ingredients You Will Need
This recipe uses simple, wholesome ingredients that work together to create a powerful immune-boosting syrup. Each component plays a specific role, and I’ve tested enough variations to know what works and what doesn’t.
- Dried Elderberries (1 cup) : These are the star of the show. Look for dried black elderberries (Sambucus nigra) from a reputable source. I personally like the ones from Starwest Botanicals or Frontier Co-op. They’re consistently high quality and reasonably priced. Avoid fresh elderberries—they need to be cooked before consumption, and dried ones are much easier to work with.
- Water (3 cups) : Filtered water is best, but tap water works fine. The water extracts the beneficial compounds from the berries and spices during simmering.
- Fresh Ginger (1 tablespoon, grated) : Ginger adds warmth and a little kick. It’s also known for its anti-inflammatory properties. I prefer fresh ginger over dried because the flavor is brighter and more vibrant. Just peel a small piece and grate it on a microplane.
- Cinnamon Sticks (2-3) : Cinnamon adds sweetness without sugar and brings its own immune-supporting benefits. I use Ceylon cinnamon when I can find it, but Cassia works just fine. The sticks are better than ground cinnamon because they infuse the syrup without making it cloudy.
- Whole Cloves (1 teaspoon) : Cloves are potent little things. They add a deep, almost floral spice note. Don’t skip them—they round out the flavor beautifully. Just make sure to use whole cloves, not ground.
- Raw Honey (1 cup) : This is where the magic happens. Raw, unfiltered honey not only sweetens the syrup but also adds its own enzymes and antimicrobial properties. Never use pasteurized honey for this recipe—the heating process kills the beneficial compounds. I buy local honey when I can, but any raw honey from a trusted source works.
- Optional: Rose Hips (2 tablespoons) : I add these when I have them on hand. They’re packed with vitamin C and add a slightly floral, tart note that complements the elderberries. Not essential, but a nice addition.
- Optional: Orange Peel (1 tablespoon, dried or fresh zest) : A little citrus brightness cuts through the richness of the honey. I sometimes add this in winter when oranges are at their peak.
Ingredient Selection Tips: When buying dried elderberries, look for ones that are dark purple-black and slightly shriveled. They should smell fruity and earthy, not dusty or musty. Store them in an airtight container in a cool, dark place—they’ll keep for up to a year. For the honey, local farmers’ markets are your best bet. The flavor varies depending on what flowers the bees visited, so you might get a completely different tasting syrup from batch to batch, which I actually love.
Substitution Guidance: If you can’t find dried elderberries, you can use frozen ones—just reduce the water slightly since they’ll release moisture as they cook. No ginger? Use 1/2 teaspoon of dried ginger powder, but add it at the very end. No cinnamon sticks? Use 1 teaspoon of ground cinnamon, but stir it in after straining to avoid a muddy texture. And if you’re vegan or avoiding honey, maple syrup works surprisingly well—though it won’t have the same immune-boosting properties.
Equipment Needed
You don’t need a lot of fancy equipment for this recipe, which is one of the reasons I love it. Here’s what you’ll need:
- Medium Saucepan : A 2-3 quart saucepan works perfectly. I use my old stainless steel one that’s seen better days—it’s fine. Avoid aluminum or uncoated copper, which can react with the berries.
- Fine-Mesh Strainer : This is essential for straining out the berries and spices. A cheesecloth-lined colander also works, but a fine-mesh strainer is easier to clean. I’ve used the same one for years and it’s never let me down.
- Glass Jar or Bottle : A 16-ounce glass jar with a tight-fitting lid is perfect for storage. I reuse old jam jars or buy these swing-top bottles that make me feel fancy. Make sure whatever you use is thoroughly cleaned and dried.
- Wooden Spoon : For stirring. Nothing special, just a spoon you don’t mind staining. Elderberries will leave purple marks on light-colored utensils.
- Measuring Cups and Spoons : Standard set. You’ll need a liquid measuring cup for the water and a dry one for the berries.
Alternative Suggestions: If you don’t have a fine-mesh strainer, you can use a nut milk bag or even a clean, thin kitchen towel. Just be prepared for some purple staining. For the jar, any glass container with a non-reactive lid works—plastic lids are fine, but avoid metal lids that might rust over time. I’ve also used Weck jars and even repurposed pasta sauce jars (after a thorough washing, of course).
Budget-Friendly Options: Don’t overthink the equipment. I made my first batch with a beat-up saucepan, a spaghetti strainer, and an old pickle jar. It worked perfectly. The only thing I’d recommend spending money on is a good fine-mesh strainer—it makes straining so much easier and you’ll use it for other things too.
Preparation Method
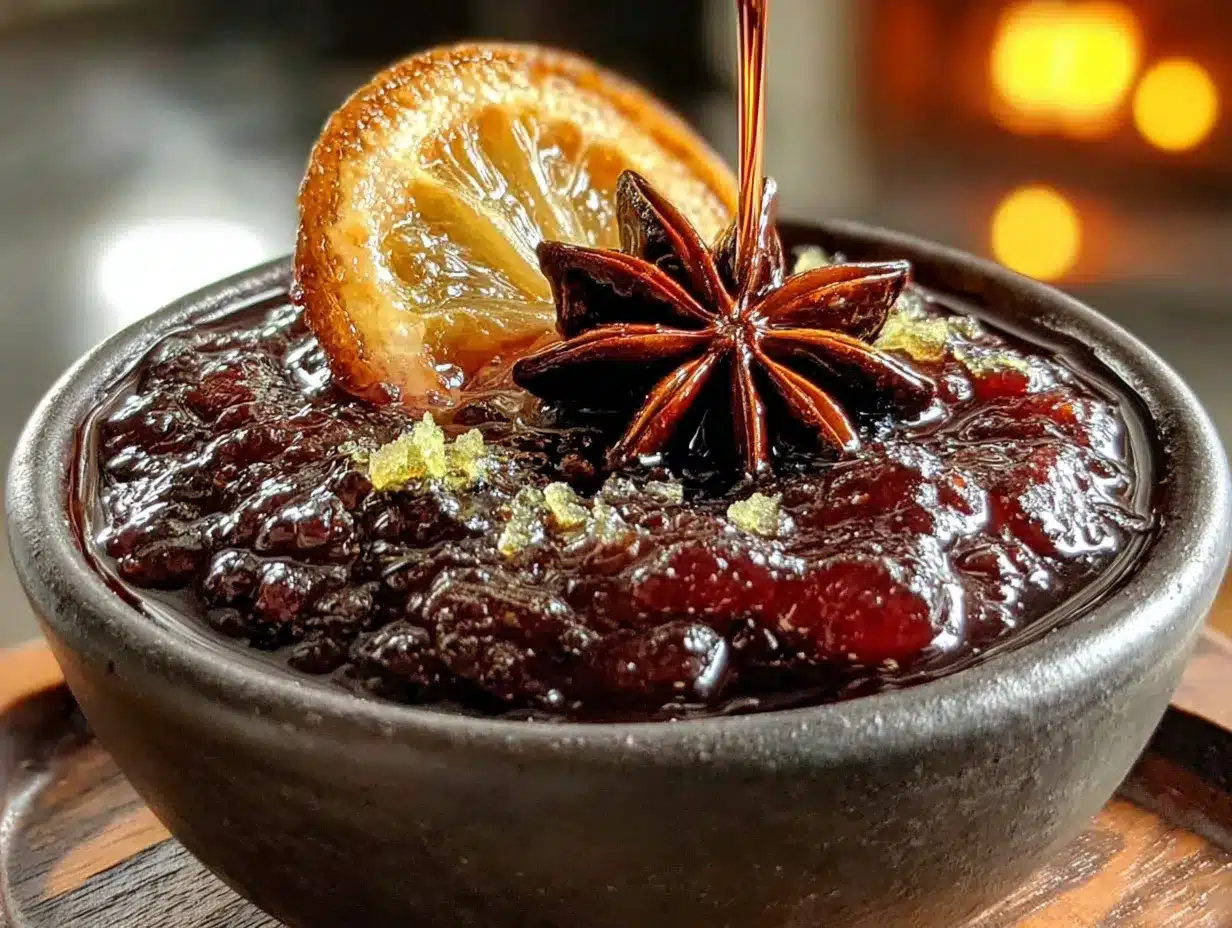
Making this homemade elderberry syrup is straightforward, but there are a few key moments where paying attention makes all the difference. Here’s exactly how I do it.
- Combine the berries and water. In your medium saucepan, add 1 cup of dried elderberries and 3 cups of filtered water. Give it a quick stir. The berries will float at first—that’s normal. Let them sit for a minute while you gather the rest of your ingredients.
- Add the spices. Toss in 2-3 cinnamon sticks, 1 teaspoon of whole cloves, and 1 tablespoon of freshly grated ginger. If you’re using rose hips or orange peel, add them now. Don’t stir too much—you want the spices to infuse gradually as the water heats up.
- Bring to a boil, then simmer. Turn the heat to medium-high and bring the mixture to a gentle boil. You’ll see small bubbles forming around the edges of the pan. Once it reaches a boil, immediately reduce the heat to low. Cover the saucepan with a lid slightly ajar—you want some steam to escape, but not all of it. Let it simmer for 45 minutes. The liquid will reduce by about half and turn a deep, almost black-purple color. The smell at this point is incredible—like a spiced berry tea that promises warmth.
- Mash the berries. After 45 minutes, turn off the heat. Use the back of your wooden spoon to gently mash the berries against the side of the pan. This releases more of their goodness. Don’t go crazy—you’re not making a puree, just breaking them open a bit. Let the mixture sit for another 10 minutes to cool slightly.
- Strain the mixture. Place your fine-mesh strainer over a large bowl or liquid measuring cup. Carefully pour the entire mixture through the strainer. Use your spoon to press down on the berries and spices to extract as much liquid as possible. You should end up with about 1 1/2 to 2 cups of dark, fragrant liquid. Discard the solids—they’ve given everything they have.
- Let it cool completely. This step is crucial. Let the strained liquid cool to room temperature. Don’t rush this. If you add honey to hot liquid, you’ll destroy the beneficial enzymes. I usually let it sit for about 30-40 minutes, stirring occasionally to help it cool evenly. You want it to feel warm but not hot when you touch the side of the bowl.
- Stir in the honey. Once the liquid is completely cool, add 1 cup of raw honey. Stir gently but thoroughly until the honey is fully dissolved. The mixture will become thicker and more syrupy. Taste it at this point—it should be sweet with a pleasant tartness and warm spice notes. If it’s too tart for your liking, add a little more honey, a tablespoon at a time.
- Bottle and store. Pour the finished syrup into your clean glass jar or bottle. Seal it tightly and label it with the date. Store it in the refrigerator immediately. The syrup will thicken slightly as it chills.
Sensory Cues: At each stage, use your senses to guide you. The simmering liquid should smell deeply fruity and spicy—like a Christmas market in a pot. The finished syrup should be the color of dark wine with a consistency similar to maple syrup. It should coat the back of a spoon but still flow freely. If it’s too thin, you can simmer it a little longer next time. If it’s too thick, add a splash of water when you reheat it for serving.
Troubleshooting Tips: If your syrup is too thin, you can simmer the strained liquid for another 10-15 minutes before adding honey. If it’s too thick, don’t worry—it’ll loosen up when you add it to warm tea or water. And if you accidentally added honey while the liquid was still hot, don’t panic. The syrup will still taste great and work as a immune booster—it just won’t have the full benefits of raw honey. Consider it a learning experience and adjust next time.
Cooking Tips & Techniques
After making this homemade elderberry syrup more times than I can count, I’ve picked up a few tricks that make the process smoother and the final product better.
Don’t Over-Simmer : I learned this the hard way. The first few times I made this, I let it simmer for over an hour, thinking more time meant more extraction. It doesn’t. The berries start to break down too much and the syrup gets a bitter, almost metallic taste. Stick to 45 minutes. It’s enough time to extract the beneficial compounds without ruining the flavor.
Temperature Matters : This is the most important tip I can give you. Raw honey is packed with enzymes, antioxidants, and antimicrobial properties—but heat destroys them. Never add honey to liquid that’s above 95°F (35°C). I use a kitchen thermometer to check, but if you don’t have one, just make sure the liquid feels cool to the touch. When in doubt, wait longer. I’ve ruined more than a few batches by being impatient.
Straining Strategy : Don’t throw away the strained berries and spices immediately. I sometimes let them steep in the strainer for a few minutes, pressing occasionally, to get every last drop of liquid. You can also use the leftover berries to make a second, weaker batch by simmering them again with fresh water. It won’t be as potent, but it’s still good for cooking or adding to smoothies.
Batch Size : This recipe doubles beautifully. I often make a double batch in the fall and freeze half in ice cube trays. Once frozen, I pop the cubes out and store them in a freezer bag. They thaw perfectly and last for months. Just remember to add the honey after thawing—or freeze the syrup without honey and stir it in after defrosting.
Common Mistakes to Avoid: Using ground spices instead of whole ones is a common error. Ground spices make the syrup cloudy and difficult to strain. Stick with cinnamon sticks and whole cloves. Another mistake is using too much ginger—it can overpower the elderberries. Start with 1 tablespoon and adjust from there. And please, for the love of all things cozy, don’t use pasteurized honey. It defeats the purpose.
Multitasking Strategy: While the elderberries are simmering, use that time to clean your jars, grate extra ginger for future batches, or make a cup of tea with the leftover spice mix. The 45-minute simmer is perfect for getting other things done. I usually prep a batch of peanut butter chocolate energy balls at the same time—they’re another great snack to have on hand during cold season.
Variations & Adaptations
This recipe is incredibly forgiving, and I’ve tried enough variations to know which ones work and which ones don’t. Here are a few of my favorites.
Spiced Apple Elderberry Syrup : Replace 1 cup of water with unsweetened apple cider. The apple flavor pairs beautifully with the elderberries and spices. I made this version last fall and it was gone within two weeks. The kids called it “fall in a bottle.”
Turmeric-Ginger Boost : Add 1 teaspoon of ground turmeric and 1/2 teaspoon of black pepper along with the ginger. Turmeric is a powerful anti-inflammatory, and the black pepper helps your body absorb it. The flavor is earthier and more complex—not for everyone, but I love it. This version pairs well with a warm mug of rustic sourdough pumpkin bread for a cozy afternoon snack.
Low-Sugar Version : If you’re watching your sugar intake, you can reduce the honey to 1/2 cup and add a few drops of stevia or monk fruit sweetener to taste. The texture will be thinner, but the immune-boosting properties remain. I’ve also made this with just 1/4 cup of honey and a mashed banana for sweetness—it works, but the syrup doesn’t keep as long.
Elderberry Gummies : This is a fun variation if you have kids who refuse to take syrup. After straining the elderberry liquid, dissolve 3 tablespoons of gelatin in 1/2 cup of the warm liquid, then stir it back into the rest. Pour into silicone molds and refrigerate for 2 hours. You get chewy, immune-boosting gummies that taste like spiced berries. Just remember that these need to be stored in the fridge and eaten within a week.
Savory Elderberry Glaze : This sounds weird, I know, but trust me. Reduce the honey to 1/4 cup and add 2 tablespoons of balsamic vinegar and a pinch of salt. Use this as a glaze for roasted chicken or pork. The tartness of the elderberries cuts through the richness of the meat beautifully. I discovered this by accident when I had leftover syrup and didn’t know what to do with it. Now I make a small batch specifically for cooking.
Serving & Storage Suggestions
This homemade elderberry syrup is versatile, and how you serve it can make all the difference in whether you actually remember to take it every day.
Serving Suggestions: The most common way is to take 1 tablespoon daily during cold and flu season. You can take it straight (my kids do this, claiming it’s “berry candy”), or mix it into a cup of hot water or tea. I love adding it to chamomile tea with a squeeze of lemon—it’s like a warm hug for your immune system. You can also drizzle it over pancakes, yogurt, oatmeal, or even ice cream. It’s surprisingly good on vanilla ice cream, though that might defeat the health benefits a little.
Storage Instructions: Store the syrup in a tightly sealed glass jar in the refrigerator. It will keep for up to 3 months. The honey acts as a natural preservative, but the syrup can still spoil if left at room temperature. I always label my jars with the date so I know when to make a new batch. If you see any mold, fizzing, or off smells, toss it immediately and make a fresh batch.
Freezing Instructions: For longer storage, pour the syrup into ice cube trays and freeze. Once frozen, transfer the cubes to a freezer bag. They’ll keep for up to 6 months. To use, thaw a cube in the refrigerator overnight or add it directly to hot tea. I freeze about half of each batch so I always have some on hand during the summer months when elderberries are harder to find.
Reheating Tips: If you prefer warm syrup, gently warm only the portion you’re about to use. Never microwave the entire jar—repeated heating and cooling can degrade the honey’s beneficial properties. Instead, pour a tablespoon into a small cup and place it in a bowl of warm water for a few minutes. Or just add it to hot tea and let the tea warm it up naturally.
Flavor Development: The syrup actually gets better after a few days in the fridge. The flavors meld together and the spices become more pronounced. I always try to make it a week before I plan to use it regularly. It’s one of those things that tastes better after it’s had time to rest—like a good stew or a spiced peach butter that deepens in flavor over time.
Nutritional Information & Benefits
While I’m not a doctor or nutritionist, I’ve done enough research to understand why this homemade elderberry syrup has earned its reputation as a cold-season staple.
Estimated Nutritional Values (per 1 tablespoon serving):
- Calories: 45-55
- Total Carbohydrates: 12-14g
- Sugars: 10-12g (from honey)
- Vitamin C: 2-4% DV (from elderberries and optional rose hips)
- Iron: 1-2% DV
- Antioxidants: High (from elderberries, cinnamon, and cloves)
Key Health Benefits: Elderberries are packed with antioxidants called anthocyanins, which give them their deep purple color. These compounds help support the immune system by reducing oxidative stress. The honey adds antimicrobial properties and soothes sore throats. Ginger and cinnamon are both anti-inflammatory and can help with digestion. Cloves contain eugenol, a compound known for its pain-relieving properties. Together, this combination creates a powerful, natural immune support system.
Dietary Considerations: This recipe is naturally gluten-free, dairy-free, and vegetarian. For vegans, substitute the honey with maple syrup or agave nectar—though you’ll lose some of the immune-boosting properties. It’s also low in fat and contains no artificial ingredients. If you’re diabetic or watching your sugar intake, be mindful of the honey content and consider the low-sugar variation mentioned earlier.
Potential Allergens: The main concern is honey, which can cause allergic reactions in people with pollen allergies. If you’re allergic to bees or have a known honey allergy, skip it entirely and use a different sweetener. Cloves and cinnamon are generally safe but can cause reactions in sensitive individuals. Always check with your healthcare provider before adding any new supplement to your routine, especially if you’re pregnant, nursing, or on medication.
FAQs
Can I use fresh elderberries instead of dried?
Yes, but with caution. Fresh elderberries contain cyanide-inducing glycosides that can cause nausea if eaten raw. They must be cooked thoroughly. If using fresh, use 2 cups of fresh berries in place of 1 cup dried, and simmer for an additional 15 minutes. Always cook fresh elderberries before consuming.
How long does homemade elderberry syrup last?
In the refrigerator, it will keep for 2-3 months. The honey acts as a natural preservative, but it’s not foolproof. Always check for signs of spoilage—mold, off smells, or fizzing—before using. If you freeze it in ice cube trays, it will last up to 6 months.
Can I give this to my kids?
Yes, but in smaller doses. For children ages 2-6, give 1/2 teaspoon daily. For ages 7-12, give 1 teaspoon daily. Always consult your pediatrician before giving any herbal remedy to children, especially if they have underlying health conditions or are on medication. Never give honey to children under 1 year old due to the risk of botulism.
Can I take this every day?
Yes, many people take it daily during cold and flu season as a preventive measure. The typical dose is 1 tablespoon for adults. However, it’s not recommended to take it year-round—give your body a break during the summer months. Some experts suggest taking a week off every month to prevent your body from building a tolerance.
Does this actually prevent colds?
While elderberry syrup can support your immune system and may reduce the severity and duration of colds, it’s not a guaranteed preventive measure. Think of it as part of a healthy lifestyle—good sleep, balanced diet, regular exercise, and hand washing are equally important. It’s a tool in your wellness toolkit, not a magic bullet.
Conclusion
Making your own homemade elderberry syrup is one of those small acts of care that pays off all winter long. It’s not complicated. It’s not expensive. And honestly, it’s kind of satisfying to open your fridge and see that dark purple jar, knowing exactly what’s in it and how it was made. No preservatives, no artificial flavors, no questionable ingredients. Just berries, spices, and honey—the way it should be.
I love this recipe because it reminds me that taking care of yourself doesn’t have to be a chore. It can be as simple as simmering some berries on the stove while you go about your evening. It can smell like a cozy kitchen and taste like something you actually look forward to. And when you’re in the middle of January, with the wind howling outside and everyone around you sniffling, that little spoonful of syrup feels like a secret weapon.
I’d love to hear how your batch turns out. Did you add any extra spices? Did your kids actually take it without a fight? Drop a comment below and let me know. And if you’re looking for more cozy, comforting recipes to get you through the cold months, check out my creamy roasted cherry tomato basil bisque or these chewy brown butter apple cider snickerdoodle cookies for the perfect winter spread. Stay well, friends. And keep that syrup handy.
Pin This Recipe!
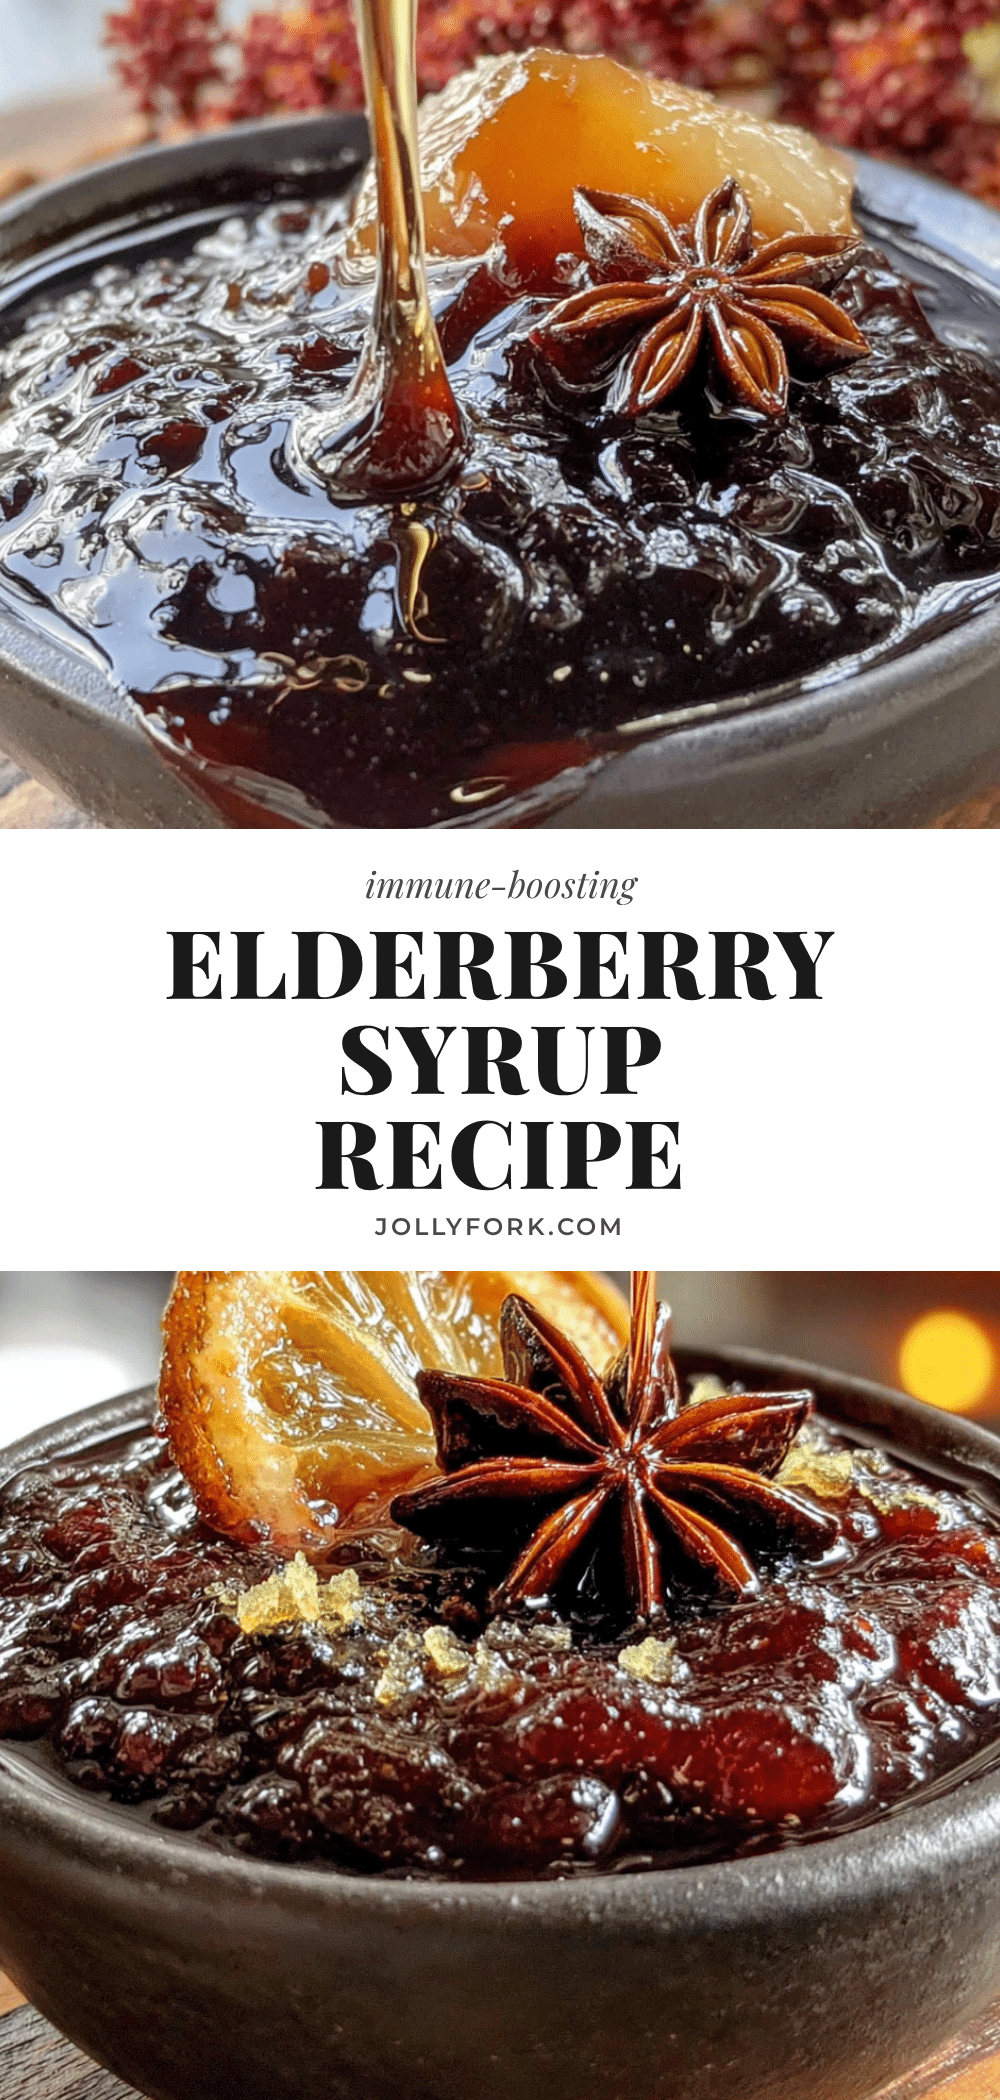
Homemade Elderberry Syrup: Best Immune Booster Recipe
This homemade elderberry syrup is a simple, cost-effective immune booster made with dried elderberries, fresh ginger, cinnamon, cloves, and raw honey. It’s kid-approved, customizable, and perfect for cold and flu season.
- Prep Time: 15 minutes
- Cook Time: 45 minutes
- Total Time: 1 hour 30 minutes
- Yield: 16 servings 1x
- Category: Condiment
- Cuisine: American
Ingredients
- 1 cup dried elderberries
- 3 cups filtered water
- 1 tablespoon fresh ginger, grated
- 2–3 cinnamon sticks
- 1 teaspoon whole cloves
- 1 cup raw honey
- 2 tablespoons rose hips (optional)
- 1 tablespoon dried orange peel or fresh zest (optional)
Instructions
- Combine the berries and water. In a medium saucepan, add 1 cup of dried elderberries and 3 cups of filtered water. Give it a quick stir. Let them sit for a minute while you gather the rest of your ingredients.
- Add the spices. Toss in 2-3 cinnamon sticks, 1 teaspoon of whole cloves, and 1 tablespoon of freshly grated ginger. If you’re using rose hips or orange peel, add them now.
- Bring to a boil, then simmer. Turn the heat to medium-high and bring the mixture to a gentle boil. Once it reaches a boil, immediately reduce the heat to low. Cover the saucepan with a lid slightly ajar. Let it simmer for 45 minutes.
- Mash the berries. After 45 minutes, turn off the heat. Use the back of your wooden spoon to gently mash the berries against the side of the pan. Let the mixture sit for another 10 minutes to cool slightly.
- Strain the mixture. Place your fine-mesh strainer over a large bowl or liquid measuring cup. Carefully pour the entire mixture through the strainer. Use your spoon to press down on the berries and spices to extract as much liquid as possible. Discard the solids.
- Let it cool completely. Let the strained liquid cool to room temperature. This usually takes about 30-40 minutes. Stir occasionally to help it cool evenly.
- Stir in the honey. Once the liquid is completely cool, add 1 cup of raw honey. Stir gently but thoroughly until the honey is fully dissolved.
- Bottle and store. Pour the finished syrup into your clean glass jar or bottle. Seal it tightly and label it with the date. Store it in the refrigerator immediately.
Notes
Never add honey to hot liquid as heat destroys its beneficial enzymes. Let the elderberry mixture cool completely before stirring in honey. The syrup can be frozen in ice cube trays for up to 6 months. For children ages 2-6, give 1/2 teaspoon daily; for ages 7-12, give 1 teaspoon daily. Always consult a pediatrician before giving to children.
Nutrition
- Serving Size: 1 tablespoon
- Calories: 50
- Sugar: 11
- Sodium: 2
- Carbohydrates: 13
Keywords: elderberry syrup, immune booster, homemade syrup, cold remedy, elderberry recipe, natural remedy, winter wellness


