My neighbor Sarah asked me last week why I couldn’t just bake the stuffing in muffin tins instead of a big casserole dish. I started to explain why that wouldn’t work — something about moisture distribution and proper steaming. Then I stopped. Honestly, I had no good reason. I’d just always done it the same way my mom did, and her mom before her. So I shrugged, grabbed her a muffin tin from my cabinet, and said, “You know what? Let’s try it.”
That was a Tuesday night in early November. By Wednesday morning, I was already planning a second batch. The edges got impossibly crispy — that golden, almost-burnt bit that everyone fights over at Thanksgiving dinner? Every single muffin had those edges. And my kids, who usually pick at their stuffing and leave a sad pile of soggy bread on their plates, ate three muffins each without a single complaint. I mean, I actually had to stop them from ruining their dinner.
These kid-approved Thanksgiving stuffing muffins are the kind of recipe that makes you wonder why you didn’t think of it sooner. They’re budget-friendly because they use the exact same ingredients you’d buy for traditional stuffing — nothing fancy, nothing expensive. But the texture? Completely different. Better. Each muffin is its own little serving, so there’s no scooping and no fighting over the crispy corner pieces. If you’ve ever watched someone sneak the crispy bits off the top of the stuffing dish before dinner even starts, you know exactly what I mean.
What stayed with me after that night wasn’t just how good they tasted. It was how easy they made dinner. No wrestling with a giant dish. No worrying about soggy middle sections. Just perfect little portions of crispy, herby goodness that even the pickiest eaters couldn’t resist. And honestly, isn’t that the whole point of Thanksgiving?
Why You’ll Love This Recipe
Let me tell you something I’ve learned after making these muffins at least a dozen times since that first batch with Sarah. They solve every single problem you’ve ever had with traditional stuffing. Every one.
- Quick & Easy: These come together in about 45 minutes from start to finish. No babysitting a giant casserole dish for hours.
- Simple Ingredients: You probably have everything in your pantry right now. Day-old bread, onions, celery, butter, and herbs. That’s it.
- Perfect for Thanksgiving: Each muffin is its own serving, so there’s no scooping, no mess, and no fighting over who gets the crispy bits.
- Crowd-Pleaser: I’ve served these to kids, grandparents, and everyone in between. They disappear faster than anything else on the table.
- Unbelievably Delicious: The texture is what gets everyone. Crispy on the outside, soft and tender on the inside. It’s comfort food at its finest.
What makes this recipe different from every other stuffing recipe out there? It’s the muffin tin. That simple change transforms a dish that can sometimes be a little sad and soggy into something with actual texture. Every muffin gets those crispy edges that people fight over. And because they’re individual servings, they reheat beautifully in the toaster oven or air fryer. No more leftover stuffing that tastes like wet cardboard the next day.
This isn’t just another version of stuffing. It’s the version that makes you wonder why you ever did it any other way. It’s the kind of recipe that makes you close your eyes after the first bite and remember every Thanksgiving you’ve ever had — but better. And for families on a budget, it’s a lifesaver. You’re using the same ingredients you’d buy anyway, but getting way more bang for your buck because nothing goes to waste and leftovers actually get eaten.
What Ingredients You Will Need
This recipe uses simple, honest ingredients that you probably already have in your kitchen. No fancy grocery trips, no expensive specialty items. Just good old-fashioned pantry staples that come together to make something truly special.
- Day-old bread, 10 cups cubed (about 1 large loaf) — Use a sturdy bread like French bread, sourdough, or even plain white sandwich bread. The drier the bread, the better it absorbs the broth without getting mushy. If your bread is fresh, cube it and leave it out overnight.
- Unsalted butter, 1/2 cup (1 stick) — I use unsalted so I can control the salt level. If you only have salted butter, just cut back on the added salt later.
- Yellow onion, 1 large, diced — About 1 1/2 cups. Yellow onions have the right balance of sweet and savory for stuffing. White onions work too, but red onions will change the flavor quite a bit.
- Celery stalks, 3 large, diced — About 1 cup. Celery is non-negotiable for classic stuffing flavor. Don’t skip it, even if you think you don’t like it. It adds that essential crunch and freshness.
- Garlic cloves, 3, minced — Fresh garlic is best here. The jarred stuff works in a pinch, but you’ll lose some of that aromatic punch.
- Chicken or vegetable broth, 2 cups — Low-sodium is your friend here. You can always add more salt later, but you can’t take it out. I prefer chicken broth for richer flavor, but vegetable broth works perfectly for a vegetarian version.
- Large eggs, 2 — These help bind everything together so the muffins hold their shape. Room temperature eggs mix in more evenly.
- Fresh parsley, 1/4 cup chopped — Adds brightness and color. Dried parsley works too, but use only 2 teaspoons.
- Fresh sage, 2 tablespoons chopped — This is the quintessential Thanksgiving herb. If you’re using dried, go with 2 teaspoons. I really recommend fresh here — it makes a noticeable difference.
- Fresh thyme, 1 tablespoon leaves — Or 1 teaspoon dried. Thyme adds that earthy, almost floral note that makes stuffing taste like the holidays.
- Salt, 1 teaspoon — Adjust to taste. Remember, your broth already has some salt.
- Black pepper, 1/2 teaspoon — Freshly ground is always better, but pre-ground works fine.
- Optional: cooked sausage or bacon, 1 cup crumbled — If you want to turn these into a main dish or add extra flavor. I’ve done it with breakfast sausage and it was incredible.
One thing I’ve learned the hard way: don’t skip drying out the bread. I know it’s tempting to just use fresh bread and hope for the best, but you’ll end up with sad, soggy muffins. Spread those cubes out on a baking sheet the night before and let them do their thing. Your future self will thank you.
Equipment Needed
You don’t need a fancy kitchen to make these stuffing muffins. Here’s what you’ll need:
- 12-cup standard muffin tin — This is the star of the show. Any standard muffin tin will work. I use a non-stick one and it works beautifully. If you only have a 6-cup tin, just bake in two batches.
- Large mixing bowl — Big enough to toss all that bread without making a mess on your counter. I use my biggest stainless steel bowl.
- Large skillet or sauté pan — For cooking the onions, celery, and garlic. A 12-inch skillet gives you plenty of room.
- Medium bowl — For whisking together the eggs and broth.
- Measuring cups and spoons — Accuracy matters here, especially with the broth. Too much liquid and you’ll have stuffing soup instead of muffins.
- Chef’s knife and cutting board — For all that dicing. A sharp knife makes the job so much easier.
- Wooden spoon or spatula — For stirring the bread mixture. A rubber spatula works great for getting every last bit.
- Cooking spray or butter — For greasing the muffin tin. Don’t skip this step, even with non-stick pans. These muffins like to stick.
If you don’t have a muffin tin, you can actually use a regular 8×8 baking dish and still get decent results. But honestly, the muffin tin is what gives you those crispy edges. They’re about $10 at any kitchen supply store and worth every penny for this recipe alone.
Preparation Method
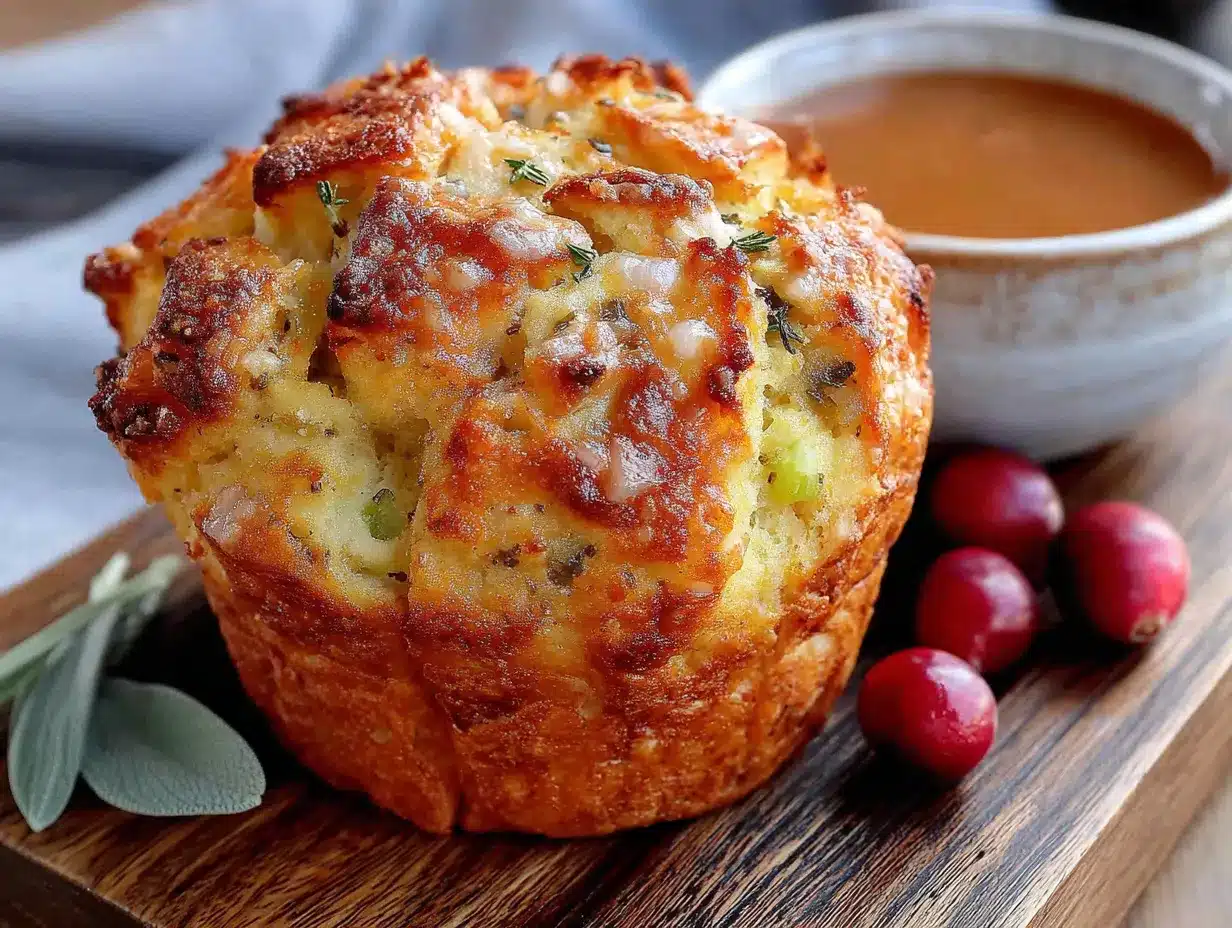
Alright, let’s get to it. Here’s how to make these crispy, kid-approved Thanksgiving stuffing muffins step by step.
- Preheat your oven to 375°F (190°C). While it’s heating up, generously spray your 12-cup muffin tin with cooking spray or grease it with butter. Don’t be shy here — these muffins need a little help releasing from the pan.
- Prepare your bread. If you haven’t already, cube your day-old bread into 1/2-inch pieces. You want them small enough to fit nicely in the muffin cups but not so small that they turn into crumbs. Spread them on a baking sheet and pop them in the oven for about 5-7 minutes while you prep everything else. This extra drying step is a game-changer. The bread should feel dry but not toasted.
- Cook the vegetables. Melt the butter in your large skillet over medium heat. Add the diced onion and celery. Cook them for about 5-7 minutes, stirring occasionally, until the onion is translucent and the celery has softened. You know it’s ready when your kitchen smells like Thanksgiving morning. Add the minced garlic and cook for another minute. Don’t let the garlic burn — it gets bitter fast.
- Whisk the wet ingredients. In your medium bowl, crack the two eggs and beat them with a fork until they’re well combined. Pour in the 2 cups of broth and whisk everything together until it’s smooth and slightly frothy. Set this aside for now.
- Combine everything. In your large mixing bowl, dump in the dried bread cubes. Pour the cooked onion and celery mixture over the top. Sprinkle in the fresh parsley, sage, thyme, salt, and pepper. Toss everything together with your hands or a wooden spoon until the herbs are evenly distributed. This is where you get to use your hands — I find it’s the best way to make sure everything is mixed without crushing the bread.
- Add the liquid. Pour the egg and broth mixture over the bread mixture. Stir gently but thoroughly. You want every cube to get a little moisture, but you don’t want it swimming. The mixture should look moist but not soupy. If it looks dry, add a splash more broth. If it looks too wet, add a handful more bread cubes. Trust your eyes here.
- Let it rest. Here’s a step most people skip, and it makes a difference. Let the mixture sit for about 10 minutes. This gives the bread time to absorb all that flavorful liquid. During this time, the mixture will transform from a loose mess into something that actually holds together. You’ll feel it when you stir it again — it’ll have more resistance.
- Fill the muffin cups. Using a spoon or a cookie scoop, divide the stuffing mixture evenly among the 12 muffin cups. Press the mixture down firmly with the back of the spoon. You want it compacted so the muffins hold their shape. Don’t worry if they’re mounded slightly above the rim — they’ll settle as they bake.
- Bake to golden perfection. Place the muffin tin in the preheated oven and bake for 20-25 minutes. At the 15-minute mark, check on them. You’re looking for deep golden brown edges and a slightly crispy top. The center should be firm to the touch, not jiggly. Every oven is different, so start checking at 18 minutes if yours runs hot.
- Cool before removing. This is crucial. Let the muffins cool in the pan for 5 minutes. Then run a knife around the edges of each muffin to loosen them. Gently lift them out and place them on a wire rack. If any stick, don’t force them — let them cool another minute and try again. Patience pays off here.
One thing I learned the hard way: don’t rush the cooling step. I once tried to flip these out of the pan too quickly and ended up with a sad pile of crumbles on my counter. They still tasted great, but they looked like a disaster. Give them those five minutes. Your future self will thank you.
Cooking Tips & Techniques
After making these muffins more times than I care to count, I’ve picked up a few tricks that make the whole process smoother. Here’s what I wish someone had told me the first time.
Don’t overmix the bread. I know it’s tempting to really work the mixture to make sure everything’s combined, but gentle folding is your friend. Overmixing breaks down the bread cubes and you end up with stuffing paste instead of fluffy muffins. Use your hands and a light touch.
Use a cookie scoop for even portions. A 2-tablespoon cookie scoop is perfect for filling the muffin cups. It keeps everything uniform so they all bake at the same rate. Plus, it’s way less messy than using a spoon. I picked this tip up from a bakery friend and it changed my life.
Watch your oven temperature. I burned my first batch because I trusted my oven’s display. Turns out it runs 25 degrees hot. An oven thermometer is a $5 investment that will save you from sad, burnt muffins. If you notice the tops browning too quickly, tent the pan loosely with foil for the last 5 minutes.
Make extra for freezing. These muffins freeze beautifully. I always make a double batch and freeze half for busy weeknights. To reheat, just pop them in a 350°F oven for 10 minutes or in the air fryer for 5 minutes. They come out just as crispy as the day you made them.
Test for doneness with a toothpick. Insert a toothpick into the center of a muffin. If it comes out clean or with just a few moist crumbs, they’re done. If it’s wet, give them another 3-5 minutes. This is the same trick you use for cakes, and it works perfectly here.
I once forgot to add the eggs entirely. The muffins still tasted fine, but they fell apart the second I tried to pick them up. Don’t be like me. Double-check your ingredients before you start mixing.
Variations & Adaptations
One of the best things about this recipe is how flexible it is. Here are some variations I’ve tried and loved.
Gluten-Free Version: Use gluten-free bread cubes. I’ve tested this with several brands and they all work well. Just make sure the bread is good and dry before you start. Gluten-free bread tends to be more delicate, so handle the mixture gently. The muffins won’t be quite as sturdy, but they’ll still be delicious.
Vegetarian Option: Swap the chicken broth for vegetable broth and add an extra cup of sautéed mushrooms for that savory, umami flavor. Mushrooms are a game-changer here. They add that meaty texture without the meat. I’ve served this version to meat-eaters who didn’t even notice the difference.
Sausage Stuffing Muffins: Brown 1 pound of breakfast sausage in the skillet before cooking the vegetables. Drain the excess fat, then proceed with the recipe. The sausage adds richness and makes these muffins hearty enough to be a main dish. My husband requests this version every single time.
Apple & Cranberry Twist: Add 1 cup of diced apple and 1/2 cup of dried cranberries to the bread mixture. The sweetness of the apple and the tartness of the cranberries play beautifully against the savory herbs. This is my favorite holiday version. It feels special without being fussy.
Cheesy Stuffing Muffins: Fold in 1 cup of shredded cheddar or Parmesan cheese right before filling the muffin cups. The cheese melts into the bread and creates these amazing crispy, cheesy edges. Fair warning: these disappear faster than any other version. Kids especially love them.
I tried a version with sun-dried tomatoes and olives once. It was… interesting. Not bad, but definitely not Thanksgiving. Stick with the classic flavors for the holidays and save the experiments for a random Tuesday.
Serving & Storage Suggestions
These stuffing muffins are incredibly versatile when it comes to serving. Here’s how I like to do it.
Serving Temperature: Serve them warm, straight from the oven. The contrast between the crispy exterior and the soft interior is at its peak within the first 15 minutes. If you’re making them ahead, reheat them just before serving. Cold stuffing muffins are sad stuffing muffins.
Presentation: Arrange the muffins on a platter lined with fresh herbs or a clean kitchen towel. They look beautiful and rustic. For Thanksgiving, I like to serve them in a basket lined with a cloth napkin. It feels homey and inviting.
What to Serve With Them: These are perfect alongside roast turkey, chicken, or even a simple roasted chicken. They also pair beautifully with mashed potatoes and gravy. For a lighter meal, serve them with a crisp green salad dressed with vinaigrette. The acidity cuts through the richness of the stuffing.
Storage: Store leftover muffins in an airtight container in the refrigerator for up to 4 days. They’ll lose some of their crispiness, but they’ll still taste great. To reheat, place them in a 350°F oven for 8-10 minutes or in the air fryer at 350°F for 4-5 minutes. The microwave works in a pinch, but the texture won’t be as good.
Freezing: These freeze like a dream. Let them cool completely, then place them in a single layer on a baking sheet and freeze for 2 hours. Transfer to a freezer-safe bag or container. They’ll keep for up to 3 months. To reheat from frozen, bake at 350°F for 15-18 minutes or air fry at 350°F for 8-10 minutes. No need to thaw first.
Flavor Development: Here’s something interesting — these muffins actually taste better the next day. The flavors have time to meld and deepen. I’ve been known to make a batch specifically for leftover purposes. They’re amazing cold, straight from the fridge, as a midnight snack.
Nutritional Information & Benefits
Let’s be real — this isn’t health food. But it’s comfort food made with real ingredients, and there’s something to be said for that. Here’s the breakdown per muffin (based on 12 servings).
| Nutrient | Amount per Muffin |
|---|---|
| Calories | 215 |
| Total Fat | 10g |
| Saturated Fat | 5g |
| Cholesterol | 45mg |
| Sodium | 380mg |
| Total Carbohydrates | 26g |
| Dietary Fiber | 2g |
| Sugars | 3g |
| Protein | 6g |
The good news is that these muffins have some real nutritional perks. The celery provides vitamin K and antioxidants. The onions and garlic are great for immune health — especially relevant during cold and flu season. And the herbs add a surprising amount of micronutrients. Sage alone is packed with vitamin K and anti-inflammatory compounds.
For families watching their budget, these muffins are a smart choice. They use inexpensive ingredients that stretch a long way. And because they’re portion-controlled, it’s easier to manage serving sizes. No more going back for “just one more scoop” from a giant casserole dish.
If you’re watching your sodium, use low-sodium broth and cut the added salt in half. You can also use whole wheat bread for extra fiber. Every little swap adds up.
Conclusion
These kid-approved Thanksgiving stuffing muffins are everything I want in a holiday side dish. They’re crispy, they’re budget-friendly, they’re easy to make, and they actually get eaten by everyone at the table — including the picky eaters. That’s a win in my book any day of the week.
What I love most about this recipe is how it turns a traditional dish into something new without losing the heart of what makes it special. It’s still stuffing. It still tastes like Thanksgiving. But it’s easier, more fun, and way more kid-friendly. And honestly, isn’t that what cooking for a family is all about? Finding ways to make the familiar feel fresh and exciting.
I’d love to hear how these turn out for you. Did your kids love them? Did you try a fun variation? Drop a comment below and let me know. And if you share them on social media, tag me — I want to see your crispy, golden muffins. Happy cooking, friends. And happy Thanksgiving.
Frequently Asked Questions
Can I make these stuffing muffins ahead of time?
Absolutely. You can assemble the muffins completely, cover the muffin tin with plastic wrap, and refrigerate them for up to 24 hours before baking. Just add 5-7 minutes to the baking time since you’re starting from cold. You can also bake them fully and reheat as needed.
Can I use boxed stuffing mix instead of fresh bread?
You can, but the texture won’t be the same. Boxed stuffing is much finer and drier, so the muffins won’t have that nice contrast between crispy edges and soft centers. If you’re in a pinch, use two boxes of stuffing mix and reduce the broth to 1 1/2 cups.
Why did my stuffing muffins fall apart?
This usually happens for one of two reasons: not enough liquid or not enough resting time. Make sure your bread is thoroughly saturated with the egg and broth mixture, and give it that 10-minute rest before baking. The eggs need time to absorb into the bread to act as a binder.
Can I make these dairy-free?
Yes! Substitute the butter with olive oil or a plant-based butter alternative. Use vegetable broth instead of chicken broth. The texture will be slightly different — a little less rich — but they’ll still be delicious and crispy.
How do I get the muffins extra crispy on top?
For extra crispy tops, brush the tops with melted butter before baking. You can also sprinkle a little panko breadcrumbs on top for added crunch. And if your oven has a convection setting, use it — the circulating air does wonders for crisping up the tops.
Pin This Recipe!
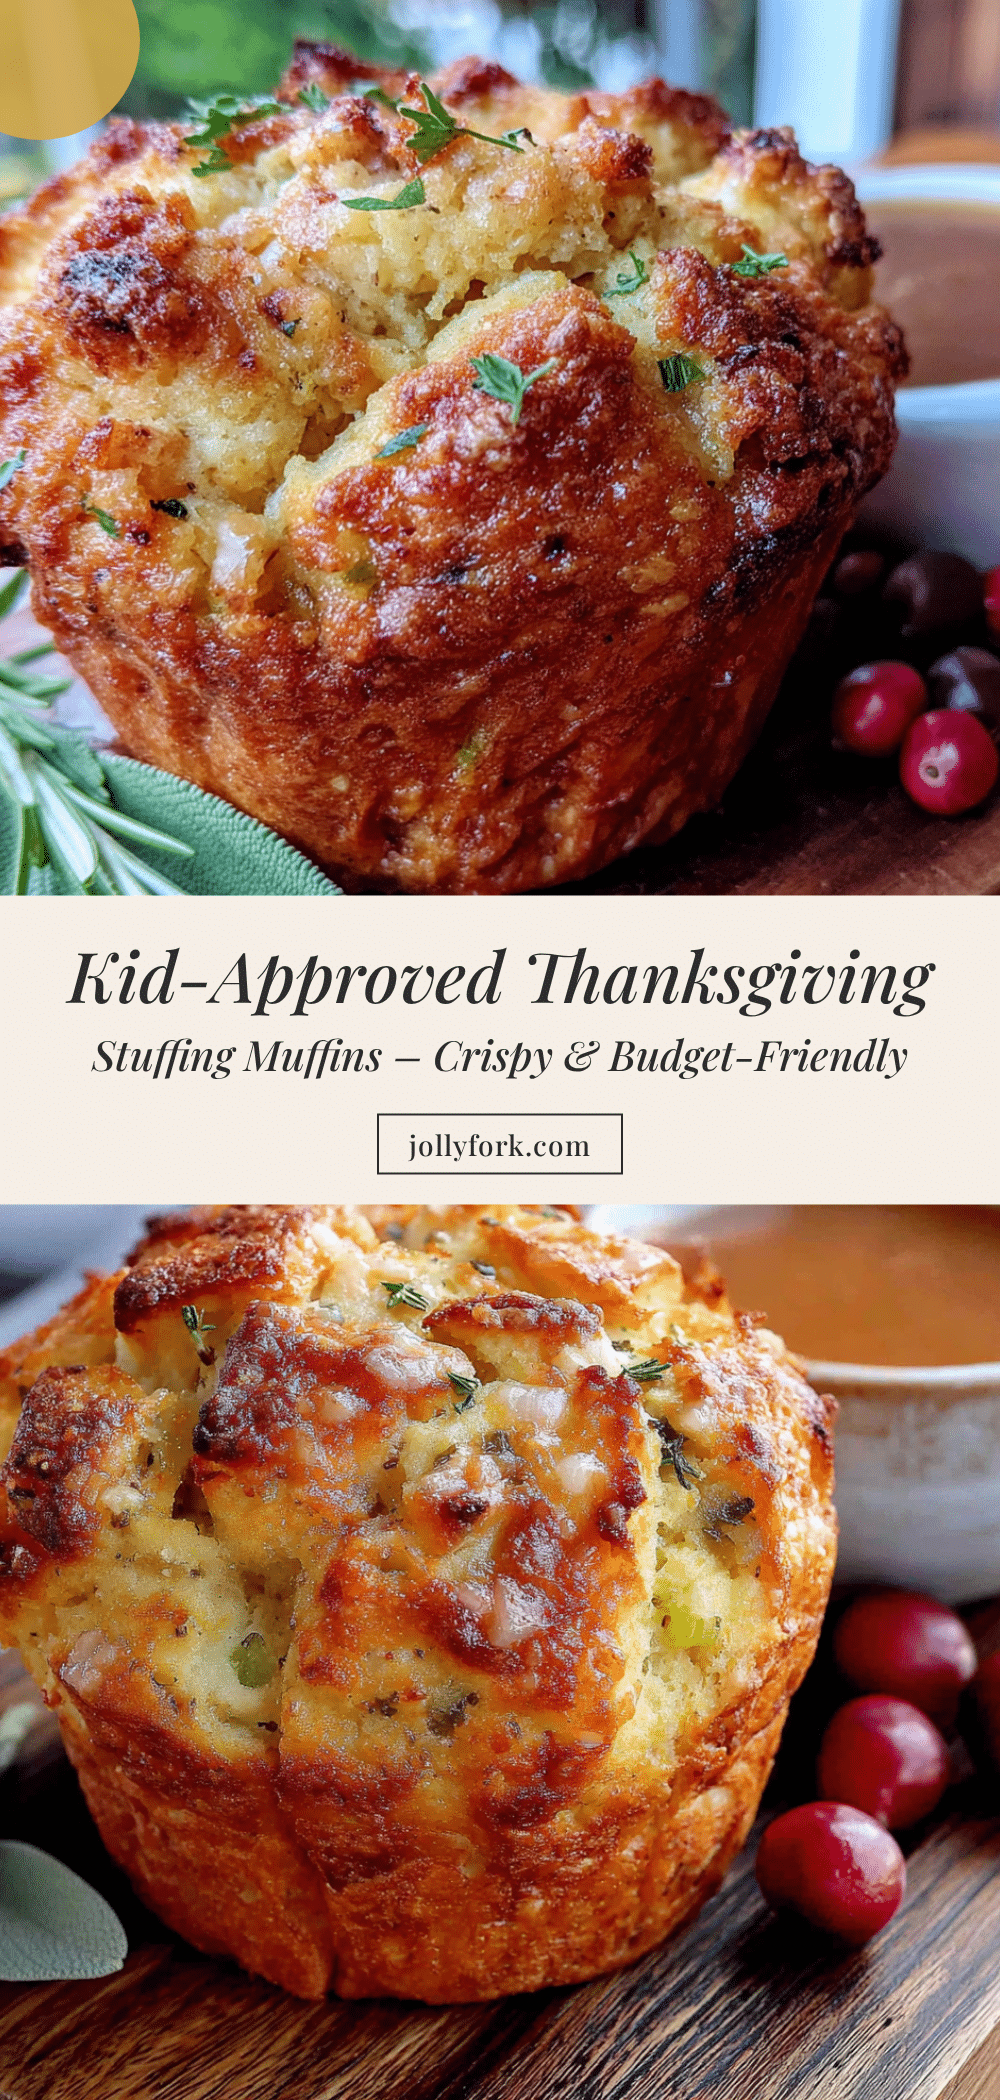
Kid-Approved Thanksgiving Stuffing Muffins: Best Easy Recipe

These crispy, golden stuffing muffins are made in a muffin tin for perfectly portioned servings with irresistible crunchy edges. A kid-friendly twist on traditional stuffing that’s quick, easy, and budget-friendly.
- Prep Time: 15 minutes
- Cook Time: 25 minutes
- Total Time: 45 minutes
- Yield: 12 servings 1x
- Category: Side Dish
- Cuisine: American
Ingredients
- 10 cups day-old bread cubes (about 1 large loaf)
- 1/2 cup unsalted butter (1 stick)
- 1 large yellow onion, diced (about 1 1/2 cups)
- 3 large celery stalks, diced (about 1 cup)
- 3 garlic cloves, minced
- 2 cups low-sodium chicken or vegetable broth
- 2 large eggs, room temperature
- 1/4 cup fresh parsley, chopped (or 2 teaspoons dried)
- 2 tablespoons fresh sage, chopped (or 2 teaspoons dried)
- 1 tablespoon fresh thyme leaves (or 1 teaspoon dried)
- 1 teaspoon salt
- 1/2 teaspoon black pepper
- 1 cup cooked sausage or bacon, crumbled (optional)
Instructions
- Preheat oven to 375°F (190°C). Generously spray a 12-cup standard muffin tin with cooking spray or grease with butter.
- If bread is not already dry, cube into 1/2-inch pieces and spread on a baking sheet. Bake for 5-7 minutes until dry but not toasted.
- Melt butter in a large skillet over medium heat. Add onion and celery; cook 5-7 minutes until onion is translucent and celery is softened. Add garlic and cook 1 minute more.
- In a medium bowl, whisk eggs until well combined. Add broth and whisk until smooth and slightly frothy.
- In a large bowl, combine dried bread cubes, cooked onion mixture, parsley, sage, thyme, salt, and pepper. Toss gently with hands or a wooden spoon until herbs are evenly distributed.
- Pour egg and broth mixture over bread mixture. Stir gently until every cube is moistened but not soupy. If too dry, add a splash more broth; if too wet, add a handful more bread cubes.
- Let mixture rest for 10 minutes to allow bread to absorb liquid.
- Divide stuffing mixture evenly among the 12 muffin cups, pressing down firmly with the back of a spoon. Mounds can be slightly above the rim.
- Bake for 20-25 minutes, until deep golden brown on edges and tops are crispy. Check at 15 minutes; center should be firm to the touch.
- Cool in pan for 5 minutes. Run a knife around edges to loosen, then gently lift muffins out onto a wire rack.
Notes
Don’t skip drying out the bread—it prevents soggy muffins. Let muffins cool in pan for 5 minutes before removing to avoid crumbling. For extra crispy tops, brush with melted butter before baking. Muffins freeze well; reheat in oven or air fryer.
Nutrition
- Serving Size: 1 muffin
- Calories: 215
- Sugar: 3
- Sodium: 380
- Fat: 10
- Saturated Fat: 5
- Carbohydrates: 26
- Fiber: 2
- Protein: 6
Keywords: stuffing muffins, Thanksgiving stuffing, kid-friendly stuffing, crispy stuffing, easy stuffing recipe, muffin tin stuffing, holiday side dish


