I wasn’t expecting cooking advice from my accountant, but there I was, sitting in his cluttered office during tax season, watching him peel a hard-boiled egg with surgical precision while he told me about green beans. “The trick,” he said, popping a piece of egg into his mouth, “is not to wrap them too tight. You want the bacon to breathe.” He was talking about his Super Bowl appetizer—bacon-wrapped green beans with brown sugar glaze—and I was supposed to be focused on my deductions. Honestly, I’d gone in expecting to talk about receipts and write-offs, not come out with dinner party inspiration.
But here’s the thing about unexpected sources—they often know what they’re talking about. This guy, who crunched numbers all day and probably hadn’t touched a whisk since home economics class, had somehow perfected a dish that I’d seen fail spectacularly at countless potlucks. Soggy bacon. Limp green beans. Glaze that tasted like someone melted a lollipop. His version, though? It was different. The beans were still bright, the bacon was actually crispy, and the sweetness had this subtle warmth that didn’t smack you in the face. I scribbled his instructions on the back of a bank deposit slip, thanked him, and promptly forgot about it until three days later when I found the slip crumpled in my coat pocket.
I made them that weekend, half expecting disaster. Maybe you’ve been there—trying a recipe from someone who has no business giving cooking advice, wondering if you’re about to waste a pound of bacon. But the accountant was right. The trick really is in the wrapping, and the glaze really does need that tiny pinch of cayenne he mentioned. I’ve tweaked it over the years, making it lighter without losing what makes it special, and now it’s the dish I bring to every gathering. People always ask for the recipe, and I always smile and say, “You’re not going to believe where I got it.”
Why You’ll Love This Recipe
Let me be real with you—I’ve tested this recipe more times than I care to admit. I’ve wrapped beans too tight, I’ve burned the glaze, I’ve used bacon that was too thick and bacon that was too thin. Through all those trials, I landed on a version that’s not just good—it’s genuinely foolproof. And the best part? It’s lighter than the original without tasting like a compromise.
- Quick & Easy: From start to finish, you’re looking at about 30 minutes. Perfect for when you need a last-minute appetizer or side dish that looks like you spent hours on it.
- Simple Ingredients: Green beans, bacon, brown sugar, and a few pantry staples. No trips to specialty stores required.
- Perfect for Entertaining: These little bundles are the life of the party. They disappear fast at holiday dinners, game day spreads, and summer barbecues.
- Crowd-Pleaser: I’ve served these to picky kids, health-conscious friends, and bacon purists. Everyone loves them.
- Unbelievably Delicious: The combination of smoky bacon, crisp-tender green beans, and that sticky-sweet glaze is next-level. You’ll catch yourself eating them straight off the baking sheet.
What makes this version different from all the others? It’s the technique. Instead of using thick-cut bacon that never crisps up, I use center-cut bacon—it’s leaner, wraps more neatly, and actually gets crunchy in the oven. The brown sugar glaze is lighter too, with just enough sweetness to complement the savory elements without overwhelming them. And the green beans? They stay bright and snappy because we’re not overcooking them. This isn’t another heavy, greasy version of a classic—it’s the one you’ll actually want to make again and again.
I mean, honestly, there’s something special about a recipe that makes you feel good about eating it. You get the satisfaction of bacon-wrapped anything, but without that heavy, weighed-down feeling afterward. It’s comfort food reimagined—lighter, fresher, but with the same soul-soothing satisfaction. Perfect for impressing guests without stress, or turning a simple weeknight dinner into something memorable.
What Ingredients You Will Need
This recipe uses simple, wholesome ingredients to deliver bold flavor and satisfying texture without the fuss. Most of these are pantry staples, and the few that aren’t are easy to find at any grocery store.
- Fresh green beans (1 pound, trimmed) — Look for beans that are bright green and snap when you bend them. I prefer medium-thickness beans; the skinny French ones get too soft, and the thick ones take too long to cook.
- Center-cut bacon (12 slices) — This is my secret weapon. Center-cut bacon is leaner than regular bacon, so it crisps up beautifully in the oven without greasing up the green beans. I recommend Oscar Mayer Center-Cut or Applegate Naturals for the best texture.
- Light brown sugar (3 tablespoons, packed) — Light brown sugar gives you that caramel-like sweetness without being overpowering. Dark brown sugar works too, but it has a stronger molasses flavor that can compete with the bacon.
- Butter (1 tablespoon, melted) — Just a touch adds richness and helps the glaze stick. Use unsalted butter so you can control the salt level.
- Dijon mustard (1 teaspoon) — This is the secret ingredient that cuts through the sweetness and adds a subtle tang. Don’t skip it—it makes a difference.
- Cayenne pepper (⅛ teaspoon) — A tiny pinch balances the sweetness and adds a warmth that you won’t even notice as spice. It’s more of a background note.
- Garlic powder (½ teaspoon) — Adds savory depth without the sharpness of fresh garlic.
- Salt (¼ teaspoon) — Go easy here since the bacon is already salty.
- Black pepper (¼ teaspoon, freshly ground)
For the glaze: The brown sugar, melted butter, Dijon mustard, cayenne, garlic powder, salt, and pepper come together to form a simple glaze that you’ll brush over the wrapped bundles. It’s loose and syrupy before baking, but it thickens and caramelizes beautifully in the oven.
Ingredient Tips: If you’re dairy-free, use coconut oil or a vegan butter substitute instead of regular butter. For a gluten-free option, double-check that your Dijon mustard is certified gluten-free—most are, but it’s worth verifying. And if you can’t find center-cut bacon, regular thin-cut bacon works fine—just expect a bit more grease, and consider draining the bundles on paper towels after baking.
Equipment Needed
You don’t need fancy gadgets for this recipe, which is exactly how I like it. Here’s what you’ll need:
- Baking sheet (rimmed, 13×18 inches) — A rimmed baking sheet catches any glaze that drips off during baking. I’ve used a flat cookie sheet before, and let me tell you, cleaning up burnt sugar from the bottom of my oven was not fun.
- Parchment paper or aluminum foil — Lining your baking sheet makes cleanup a breeze. Parchment paper is my preference because the glaze doesn’t stick to it as much.
- Wire rack (fits inside the baking sheet) — This is optional but highly recommended. Placing the bundles on a wire rack allows hot air to circulate around them, giving you crispier bacon on all sides.
- Small bowl (for mixing the glaze)
- Pastry brush (or a small spoon) — For brushing the glaze over the bundles. A silicone brush works best because it doesn’t absorb the glaze.
- Cutting board and sharp knife — For trimming the green beans and cutting the bacon slices in half if needed.
- Tongs — For flipping the bundles halfway through baking. Trust me, trying to flip them with a fork is a disaster waiting to happen.
Budget-Friendly Alternatives: No wire rack? No problem. You can place the bundles directly on the parchment-lined baking sheet. They won’t be quite as crispy on the bottom, but they’ll still be delicious. No pastry brush? Use the back of a spoon to drizzle the glaze over the bundles—it’s less precise but gets the job done.
Preparation Method
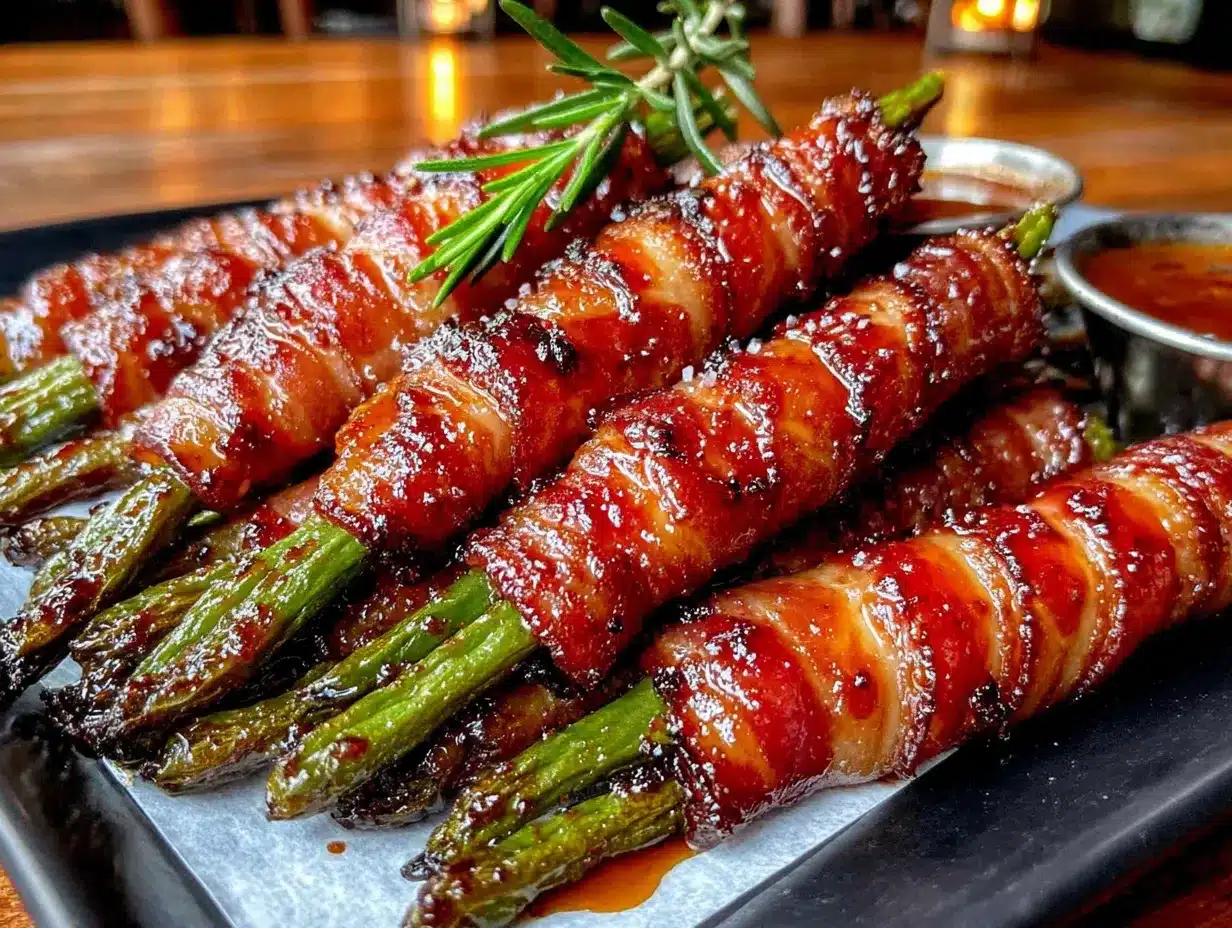
- Preheat your oven to 400°F (200°C). Position the rack in the center of the oven. Line your baking sheet with parchment paper or aluminum foil, and if you’re using a wire rack, place it on top of the lined sheet.
- Prepare the green beans. Wash and trim about 1 pound of fresh green beans. To trim them, line up a handful of beans on your cutting board and slice off the stem ends all at once. You don’t need to remove the tail ends—they’re perfectly edible and look nicer. Pat the beans completely dry with a clean kitchen towel or paper towels. This is important because any moisture will steam the beans instead of roasting them.
- Blanch the green beans (optional but recommended). Bring a large pot of salted water to a boil. Add the trimmed beans and cook for exactly 2 minutes. Transfer them to a bowl of ice water to stop the cooking process. Drain and pat dry. This step ensures your green beans stay bright green and crisp-tender, even after baking. I’ve skipped this step before, and the beans came out fine—just a little less vibrant and slightly more chewy.
- Cut the bacon. Take 12 slices of center-cut bacon and cut each slice in half crosswise. You’ll end up with 24 shorter bacon pieces, which is perfect for wrapping individual bundles.
- Make the glaze. In a small bowl, combine 3 tablespoons packed light brown sugar, 1 tablespoon melted butter, 1 teaspoon Dijon mustard, ⅛ teaspoon cayenne pepper, ½ teaspoon garlic powder, ¼ teaspoon salt, and ¼ teaspoon black pepper. Whisk until smooth. The mixture will be loose and syrupy—that’s exactly what you want.
- Assemble the bundles. Gather about 5-6 green beans together (or enough to form a bundle about the thickness of your thumb). Take one half-slice of bacon and wrap it around the middle of the bundle, overlapping the ends slightly. Don’t wrap it too tight—remember what my accountant said about letting the bacon breathe. Place the bundle seam-side down on your prepared baking sheet or wire rack. Repeat with the remaining beans and bacon. You should get about 12 bundles.
- Brush with glaze. Using your pastry brush, generously brush the glaze over each bundle, making sure to coat both the bacon and the exposed green beans. Don’t be shy—the glaze is what makes these so addictive.
- Bake for 15 minutes. Place the baking sheet in the preheated oven and bake for 15 minutes. The bacon should be starting to crisp up, and the glaze will be bubbling.
- Flip and brush again. Remove the baking sheet from the oven. Using tongs, carefully flip each bundle over. Brush the other side with any remaining glaze from the bowl. Return to the oven and bake for another 10-15 minutes, or until the bacon is crispy and the glaze is caramelized and sticky.
- Rest before serving. Let the bundles rest on the baking sheet for 5 minutes before transferring them to a serving platter. This allows the glaze to set slightly and prevents it from sliding off. The bacon will also crisp up a bit more as it cools.
Sensory Cues: At the 15-minute mark, your kitchen should smell like a dream—smoky bacon mingling with sweet caramelized sugar. The glaze will be bubbling and darkening around the edges. When you flip the bundles, the bacon should be golden brown on the bottom. After the second bake, the bacon should be deep amber and slightly crispy to the touch, and the green beans should be tender but still have a slight snap when you bite into them.
Cooking Tips & Techniques
I’ve made these bacon-wrapped green beans more times than I can count, and I’ve learned a few things the hard way. Let me save you some trouble.
Don’t overcrowd the pan. I made this mistake once when I doubled the recipe for a party. I crammed all 24 bundles onto one baking sheet, and they steamed instead of roasted. The bacon was flabby, the glaze was runny, and I was not happy. Give each bundle a little space—about ½ inch between them—so the hot air can circulate and crisp up the bacon.
Watch the sugar. Brown sugar burns faster than you think. If your oven runs hot, check the bundles at the 10-minute mark during the second bake. You want the glaze to be caramelized and sticky, not black and bitter. If you notice the sugar starting to darken too quickly, tent the bundles loosely with foil for the remaining baking time.
Use a wire rack. This is the single best tip I can give you. Placing the bundles on a wire rack elevates them above the baking sheet, allowing hot air to circulate underneath. The result? Bacon that’s crispy on all sides instead of soggy on the bottom. If you don’t have a wire rack that fits your baking sheet, you can use a cooling rack—just make sure it’s oven-safe.
Pat the beans dry. I cannot stress this enough. Wet green beans create steam, which prevents the bacon from crisping up. After you wash and blanch the beans, take an extra 30 seconds to really dry them off. Your future self will thank you.
Prep ahead for parties. You can assemble the bundles and brush them with glaze up to 24 hours in advance. Just cover them tightly with plastic wrap and refrigerate. When you’re ready to bake, add about 5 minutes to the cooking time since they’ll be starting from cold. This is a lifesaver when you’re hosting a holiday dinner or game day party.
Variations & Adaptations
One of the things I love about this recipe is how flexible it is. Here are some variations I’ve tried and loved:
Spicy Maple Version
Swap the brown sugar for 2 tablespoons of pure maple syrup and add an extra pinch of cayenne. The maple syrup gives the glaze a slightly different sweetness that pairs beautifully with the smoky bacon. I made this version for a fall gathering, and it was gone in minutes.
Garlic Lover’s Twist
Instead of garlic powder, use 2 minced garlic cloves in the glaze. Add them to the melted butter and let them sizzle for 30 seconds before mixing in the other ingredients. The fresh garlic adds a pungent kick that’s really nice if you’re a garlic fanatic like me.
Balsamic Glaze Variation
Replace the Dijon mustard with 1 tablespoon of balsamic vinegar and reduce the brown sugar to 2 tablespoons. The balsamic adds a tangy, slightly fruity note that cuts through the richness of the bacon. This version pairs especially well with roasted meats like chicken or pork.
Keto-Friendly Option
Use sugar-free brown sugar substitute (like Swerve) and increase the butter to 2 tablespoons to help the glaze stick. The texture will be slightly different, but the flavor is surprisingly close. I tested this for a friend on a keto diet, and she gave it two thumbs up.
Vegetarian Version
Replace the bacon with thin slices of smoked tofu or tempeh. Brush the “bacon” with a mixture of soy sauce, liquid smoke, and a touch of maple syrup before wrapping the beans. It’s not the same, obviously, but it’s a solid alternative if you’re cooking for a vegetarian crowd.
Serving & Storage Suggestions
These bacon-wrapped green bean bundles are incredibly versatile when it comes to serving. Here’s how I like to enjoy them:
Serving Temperature: Serve them warm, straight from the oven. The bacon is at its crispiest, and the glaze is still slightly sticky and soft. They’re also delicious at room temperature, which makes them perfect for potlucks and buffets. I’ve even eaten them cold straight from the fridge, and honestly? Still good.
Presentation Ideas: Arrange the bundles on a wooden serving board or a white platter for maximum visual impact. Sprinkle a few toasted sesame seeds or chopped fresh parsley over the top for a pop of color. If you’re serving them as an appetizer, place a small bowl of extra glaze on the side for dipping—though honestly, they’re flavorful enough on their own.
Complementary Dishes: These bundles pair beautifully with roasted chicken, grilled steak, or pan-seared salmon. They’re also fantastic alongside a big holiday spread—think Thanksgiving turkey, Christmas ham, or Easter lamb. For a lighter meal, serve them with a simple green salad and some crusty bread.
Storage Instructions: Store any leftovers in an airtight container in the refrigerator for up to 3 days. The bacon will lose some of its crispness, but the flavor will still be great.
Reheating Methods: To reheat, place the bundles on a baking sheet and warm them in a 350°F (175°C) oven for about 5-7 minutes, or until heated through. You can also reheat them in an air fryer at 350°F for 3-4 minutes—this actually helps restore some of the bacon’s crispiness. Avoid microwaving, as it will make the bacon rubbery and the green beans soggy.
Flavor Development: Interestingly, these bundles taste even better the next day. The flavors meld together as they sit, and the glaze soaks into the green beans just a little bit. I’ve been known to make a double batch just so I can have leftovers for lunch.
Nutritional Information & Benefits
I’m not a nutritionist, but I do care about what I put into my body. Here’s the breakdown for one bundle (based on 12 servings):
- Calories: Approximately 85
- Protein: 4g
- Fat: 4g
- Carbohydrates: 8g
- Fiber: 1g
- Sugar: 6g
- Sodium: 220mg
Health Benefits: Green beans are packed with vitamins A, C, and K, as well as fiber and folate. They’re also low in calories, which means you can enjoy a few bundles without guilt. The center-cut bacon is leaner than regular bacon, so you’re getting that smoky flavor with less saturated fat. And while brown sugar is still sugar, using just 3 tablespoons for 12 bundles means each one has a modest amount of sweetness.
Dietary Considerations: This recipe is naturally gluten-free (just double-check your Dijon mustard). It’s also nut-free and egg-free. If you’re watching your sodium intake, look for low-sodium bacon or reduce the added salt in the glaze.
My Personal Take: I love that this recipe lets me have my bacon and eat it too—literally. It satisfies that craving for something indulgent while still being a vegetable-forward dish. I feel good serving it to my family because I know they’re getting a serving of green beans, even if they’re wrapped in bacon. It’s all about balance, you know?
Conclusion
So there you have it—bacon-wrapped green beans with brown sugar glaze that started with an accountant and ended up as my go-to party dish. I’ve made these for Thanksgiving, Christmas, Super Bowl parties, and random Tuesday dinners, and they’ve never let me down. They’re the kind of recipe that makes you look like a culinary genius without actually requiring any real skill.
What I love most about this recipe is how adaptable it is. You can make it spicy, smoky, sweet, or tangy—whatever suits your mood. You can prep it ahead, double it for a crowd, or halve it for a quiet dinner at home. It’s forgiving, it’s delicious, and it always gets compliments. Honestly, what more could you ask for?
I’d love to hear how these turn out for you. Did you try any of the variations? Did you come up with your own twist? Drop a comment below and let me know—I’m always looking for new ideas. And if you’re feeling generous, share this recipe with someone who could use a little unexpected kitchen inspiration. You never know where the next great recipe might come from.
Happy cooking, friends. And remember—sometimes the best advice comes from the most unlikely places.
Frequently Asked Questions
Can I use frozen green beans for this recipe?
I wouldn’t recommend it. Frozen green beans release a lot of water as they thaw and cook, which will make your bacon soggy and your glaze watery. Fresh green beans are really the way to go here. If you’re in a pinch, you can thaw frozen beans completely and pat them very dry before using, but the texture won’t be quite as good.
How do I prevent the bacon from unrolling during baking?
Place the bundles seam-side down on the baking sheet. The weight of the bundle will hold the bacon in place as it cooks. When you flip them halfway through, the bacon should have started to set, so it won’t unroll. If you’re still worried, you can secure each bundle with a toothpick, but I’ve never found it necessary.
Can I make these in an air fryer?
Absolutely! Preheat your air fryer to 375°F (190°C). Arrange the bundles in a single layer in the air fryer basket—you may need to work in batches depending on the size of your basket. Cook for 8-10 minutes, flipping halfway through. The air fryer actually gives you even crispier bacon, so it’s a great option if you have one.
How far in advance can I assemble these?
You can assemble the bundles and brush them with glaze up to 24 hours ahead of time. Just cover them tightly with plastic wrap and keep them in the refrigerator. When you’re ready to bake, add about 5 minutes to the cooking time to account for the cold start. I’ve done this for holiday dinners, and it’s a total game-changer.
What if my glaze is too thick or too thin?
If your glaze is too thick, add a teaspoon of warm water and whisk until smooth. If it’s too thin, add another teaspoon of brown sugar. The consistency should be syrupy—loose enough to brush easily but thick enough to cling to the bundles. Don’t stress too much about it, though. Even if the glaze isn’t perfect, it will still caramelize beautifully in the oven.
Pin This Recipe!
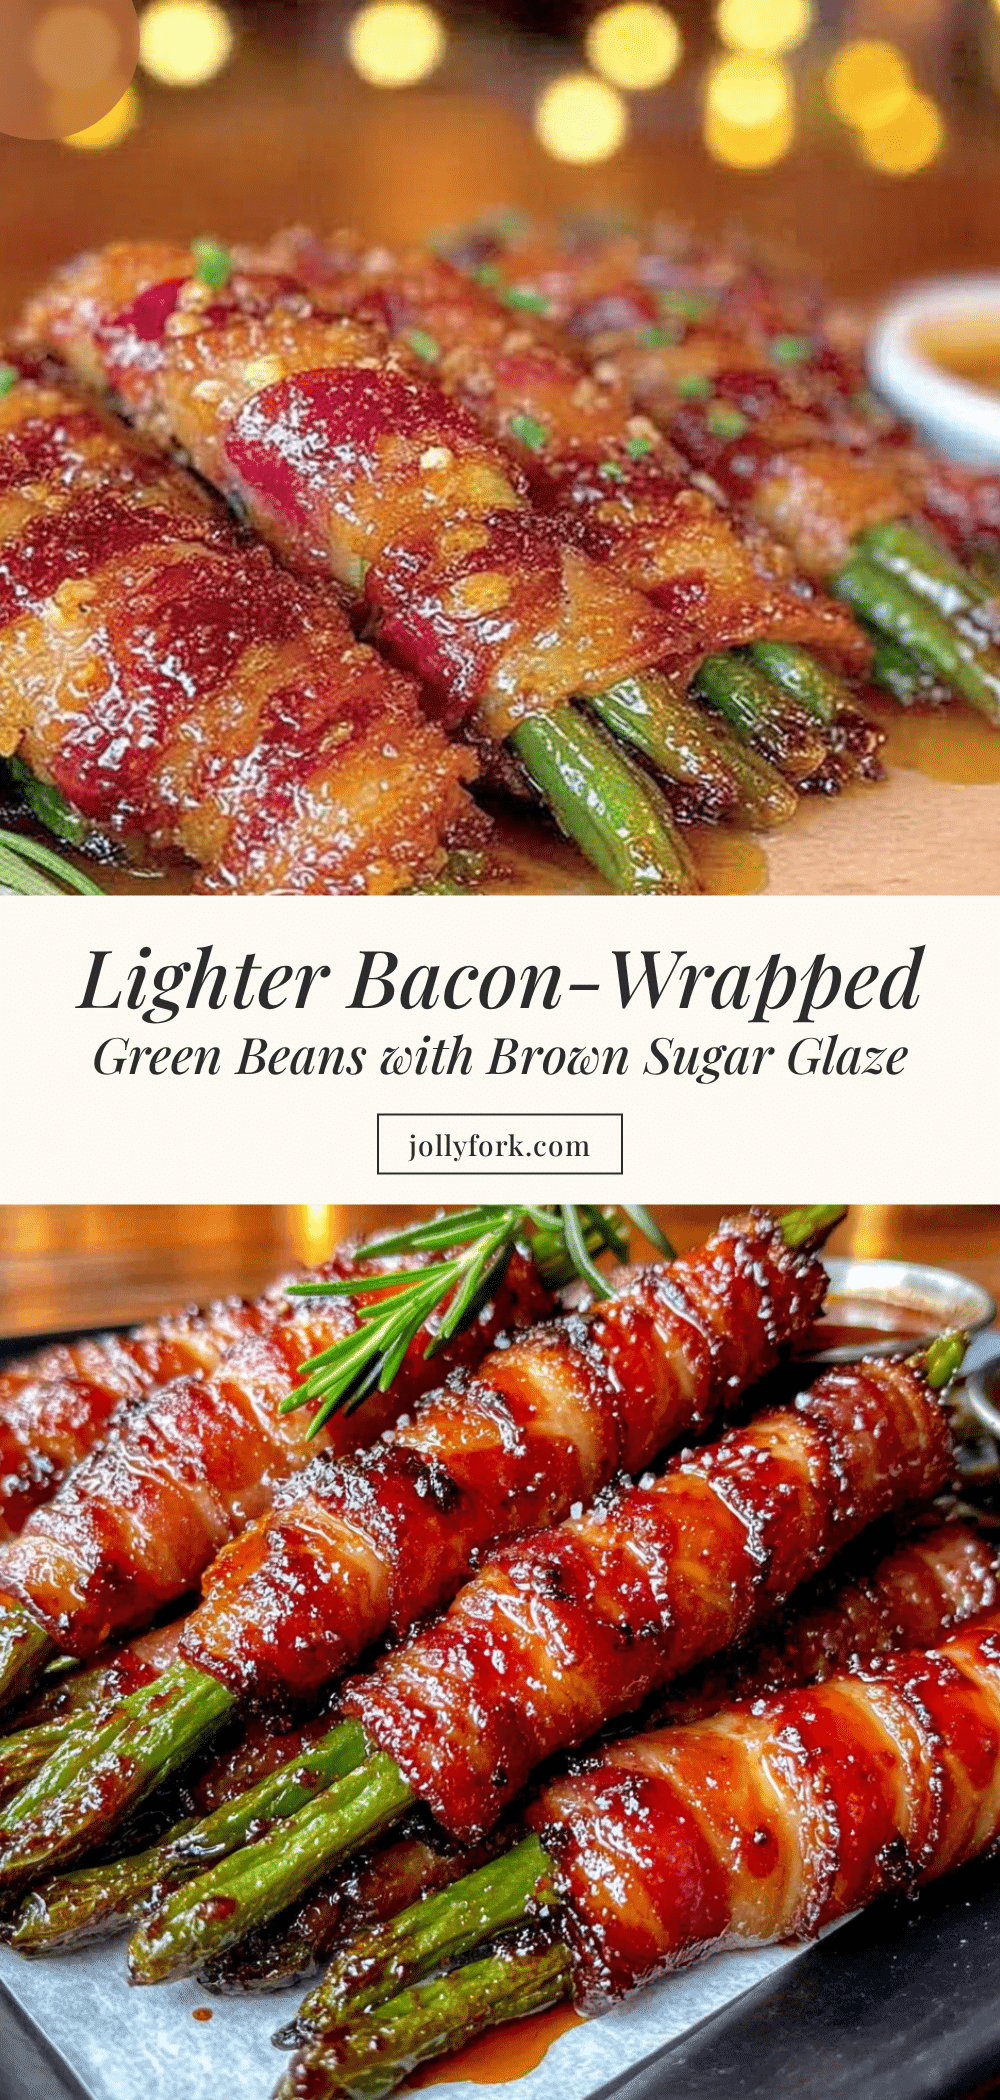
Lighter Bacon-Wrapped Green Beans with Brown Sugar Glaze

Crisp-tender green beans wrapped in lean center-cut bacon and glazed with a sweet and savory brown sugar mixture. This lighter version of a classic appetizer is quick, easy, and perfect for entertaining.
- Prep Time: 15 minutes
- Cook Time: 25-30 minutes
- Total Time: 40-45 minutes
- Yield: 12 bundles (serves 4-6 as an appetizer) 1x
- Category: Appetizer
- Cuisine: American
Ingredients
- 1 pound fresh green beans, trimmed
- 12 slices center-cut bacon, cut in half crosswise
- 3 tablespoons light brown sugar, packed
- 1 tablespoon unsalted butter, melted
- 1 teaspoon Dijon mustard
- ⅛ teaspoon cayenne pepper
- ½ teaspoon garlic powder
- ¼ teaspoon salt
- ¼ teaspoon freshly ground black pepper
Instructions
- Preheat oven to 400°F (200°C). Line a rimmed baking sheet with parchment paper or aluminum foil. Place a wire rack on top if using.
- Wash and trim green beans. Pat completely dry.
- Optional: Blanch green beans in boiling salted water for 2 minutes, then transfer to ice water. Drain and pat dry.
- Cut each bacon slice in half crosswise to make 24 pieces.
- In a small bowl, whisk together brown sugar, melted butter, Dijon mustard, cayenne, garlic powder, salt, and pepper until smooth.
- Gather 5-6 green beans into a bundle. Wrap one half-slice of bacon around the middle, overlapping ends slightly. Place seam-side down on prepared baking sheet or wire rack. Repeat to make 12 bundles.
- Brush glaze generously over each bundle, coating bacon and exposed beans.
- Bake for 15 minutes. Remove from oven, flip bundles with tongs, and brush with remaining glaze.
- Return to oven and bake for another 10-15 minutes until bacon is crispy and glaze is caramelized.
- Let rest on baking sheet for 5 minutes before serving.
Notes
For best results, use center-cut bacon and pat green beans very dry. Do not wrap bacon too tight—let it breathe. If glaze darkens too quickly, tent with foil. Can be assembled up to 24 hours ahead and refrigerated; add 5 minutes to baking time if starting cold.
Nutrition
- Serving Size: 1 bundle
- Calories: 85
- Sugar: 6
- Sodium: 220
- Fat: 4
- Saturated Fat: 1.5
- Carbohydrates: 8
- Fiber: 1
- Protein: 4
Keywords: bacon wrapped green beans, brown sugar glaze, easy appetizer, holiday side dish, game day snack


