The company potluck was in twelve hours and I’d completely forgotten. Everyone else would be bringing their grandmother’s famous casseroles, slow-cooked all day, layered with love and—let’s be honest—a ton of gluten. I had a bag of frozen green beans, a can of cream of mushroom soup I wasn’t even sure was gluten-free, and a vague sense of panic setting in. My phone buzzed with a text from my coworker, Sarah. “Bringing my famous green bean casserole! It’s my mom’s recipe, takes all day!” Great. Just great.
I stared into my pantry, hoping for a miracle. I’m not gluten-free by choice, but my body made the decision for me a few years back, and potlucks had become a minefield of hidden flours and mysterious thickeners. I grabbed the can of soup, squinted at the label, and, honestly, let out a little cheer when I saw it was gluten-free. But the fried onion topping? That was a hard no. All wheat flour. So I grabbed some almond flour, a bag of gluten-free panko breadcrumbs I’d bought on a whim, and decided I was just going to wing it. What was the worst that could happen? A sad, soggy casserole that I’d eat alone at my desk?
I tossed the onions in a mix of almond flour and spices, baked them until they were golden and crispy, and threw the casserole together in about twenty minutes. The next day, I walked into the office with my dish, feeling like I was bringing a pop gun to a bazooka fight. Sarah’s casserole was a towering, golden monument. Mine looked… humble. But then it happened. People went for Sarah’s first, of course. Then someone tried mine. Then there was a silence. Then a second person went back for more. By the end of the lunch, my casserole dish was scraped clean, and Sarah was asking me for the recipe. I just smiled. “It’s the quick, gluten-free one,” I said. “The one I made in a panic.” And that’s the story of how this recipe became my go-to, not just for potlucks, but for those nights when you need a comforting side dish on the table fast, without the gluten and without the stress. Maybe you’ve been there, staring at a pantry and a ticking clock. This one’s for you.
Why You’ll Love This Recipe
Let’s be real for a second. A gluten-free green bean casserole that’s also quick? It sounds like a dream, right? But I’ve tested this one more times than I care to count, and I can confidently say it delivers on every single promise. This isn’t just a substitute for the classic; it’s a version that stands proudly on its own two feet—or, you know, on its crispy, gluten-free onion topping.
- Quick & Easy: From start to finish, this comes together in under 30 minutes. The active prep time is about 10 minutes, and then it’s just a quick bake. Perfect for a busy weeknight when you need a side dish that doesn’t demand a ton of attention.
- Simple Ingredients: No fancy grocery store trips required. You likely have most of these items in your pantry already. The gluten-free swaps are simple and accessible, using things like almond flour and gluten-free panko that are easy to find these days.
- Perfect for Weeknights & Holidays: This recipe is a chameleon. It’s quick enough for a Tuesday dinner with roasted chicken, but it’s also impressive enough for Thanksgiving. No one will know it’s gluten-free unless you tell them.
- Crowd-Pleaser: I’ve served this to gluten-eaters and gluten-free folks alike, and it’s always the first dish to disappear. The homemade onion topping is a game-changer—crispy, savory, and way better than the canned stuff.
- Unbelievably Delicious: The texture is perfect—tender green beans in a creamy, savory sauce, topped with a crunchy, golden crust. It’s comfort food at its finest, but without the gluten-induced regret.
What makes this recipe different from the rest? It’s the homemade onion topping. Most quick versions skip that step and use store-bought, but those are almost always made with wheat flour. By making your own with almond flour and gluten-free panko, you get a topping that’s actually crunchier and more flavorful. Plus, you control the seasoning. It’s a small extra step that makes a huge difference, and I promise, it’s worth the five minutes. This is the kind of side dish that makes you close your eyes after the first bite, not because it’s “good for gluten-free,” but because it’s genuinely, soul-satisfyingly delicious.
What Ingredients You Will Need
This recipe uses simple, wholesome ingredients to deliver that classic green bean casserole flavor and texture, without the gluten and without the fuss. Most of these are pantry staples or easy to find at any grocery store. Let’s break down what you’ll need and why each ingredient matters.
- Fresh or Frozen Green Beans (1.5 lbs / 680g), trimmed and cut into 2-inch pieces: I prefer fresh green beans for the best texture—they stay crisper. But in a pinch, frozen green beans work perfectly. Just thaw them and pat them dry to avoid a watery casserole. If using fresh, look for bright green, firm beans without any brown spots.
- Cream of Mushroom Soup (1 can, 10.5 oz / 298g), gluten-free: This is the backbone of the creamy sauce. Not all cream of mushroom soup is gluten-free, so you need to check the label. I personally like the Pacific Foods brand or Progresso (their gluten-free line). If you can’t find a gluten-free canned version, you can make a quick homemade version with a simple roux using gluten-free flour (like Bob’s Red Mill 1-to-1).
- Milk (1/2 cup / 120ml), any kind: This thins out the soup and helps create a smooth, pourable sauce. I use whole milk for richness, but 2% or even unsweetened almond milk works great. If you’re dairy-free, use a plain, unsweetened non-dairy milk.
- Tamari or Gluten-Free Soy Sauce (1 tablespoon): This is my secret ingredient. It adds a deep, savory umami flavor that mimics the richness of a long-simmered sauce. Don’t skip it! It doesn’t make the casserole taste like soy sauce; it just makes it taste more delicious. Use tamari for a strictly gluten-free option.
- Garlic Powder (1/2 teaspoon): A little garlic goes a long way. It adds a subtle warmth that complements the mushrooms and green beans beautifully.
- Black Pepper (1/4 teaspoon, freshly ground): For a little kick of warmth.
- Salt (to taste, about 1/4 teaspoon): The tamari is salty, so go easy on the salt at first. You can always add more at the end.
For the Gluten-Free Onion Topping:
- Yellow Onion (1 large), thinly sliced into rings: A yellow onion gives the best flavor when baked—sweet and savory. Slice them as thinly as you can for maximum crispiness.
- Almond Flour (1/2 cup / 60g): This is the base of our gluten-free breading. It’s naturally gluten-free and gives a wonderful, nutty flavor and a delicate crunch. I recommend Bob’s Red Mill Super-Fine Almond Flour for the best texture.
- Gluten-Free Panko Breadcrumbs (1/2 cup / 60g): These add the real crunch. Regular panko is made from wheat flour, but the gluten-free version (usually made from rice flour or corn) works perfectly. Ian’s or Aleia’s are great brands.
- Olive Oil or Avocado Oil (2 tablespoons): This helps the breading get golden and crispy. Avocado oil has a higher smoke point, which is great for baking, but olive oil works well too.
- Salt (1/2 teaspoon): To season the topping.
- Paprika (1/2 teaspoon): For color and a mild, smoky flavor.
- Garlic Powder (1/4 teaspoon): More flavor for the topping.
Substitution Guidance: If you don’t have almond flour, you can use finely ground gluten-free oat flour or even more gluten-free panko. For a nut-free version, skip the almond flour and use all panko. If you’re dairy-free, use a dairy-free milk and a dairy-free cream of mushroom soup (like the one from Imagine Foods). This recipe is very forgiving!
Equipment Needed
You don’t need a fancy kitchen to pull this off. Here’s what you’ll need, along with a few tips from my own experience of making this recipe more times than I can count.
- Large Pot or Dutch Oven: For blanching the green beans. A standard 5-quart pot works great. I’ve used my trusty, slightly scratched one for years.
- Colander: For draining the beans. A fine-mesh one is best, but any colander will do.
- Large Bowl: For mixing the onion topping ingredients. A standard mixing bowl is fine.
- Baking Sheet (rimmed): For baking the onion topping. A half-sheet pan (18×13 inches) is ideal. Line it with parchment paper for easy cleanup—trust me on this one.
- 9×13-inch Baking Dish: For the casserole itself. A standard glass or ceramic dish works perfectly. If you don’t have a 9×13, you can use a 2-quart casserole dish or even a 10-inch cast-iron skillet.
- Measuring Cups and Spoons: For accuracy. I cannot stress this enough—especially for the almond flour and panko. Eyeballing it can lead to a soggy topping.
- Sharp Knife and Cutting Board: For trimming the green beans and slicing the onion. A good, sharp knife makes the onion slicing so much easier and less tear-inducing.
- Wooden Spoon or Silicone Spatula: For stirring the sauce and combining everything. A silicone spatula is great for getting every last bit of sauce out of the bowl.
Budget-Friendly Options: Don’t have a rimmed baking sheet? A regular baking sheet with a lip will work, but be careful of drips. No 9×13 dish? Use a 10-inch cast-iron skillet—it goes from stovetop to oven beautifully, and it looks pretty on the table too.
Preparation Method
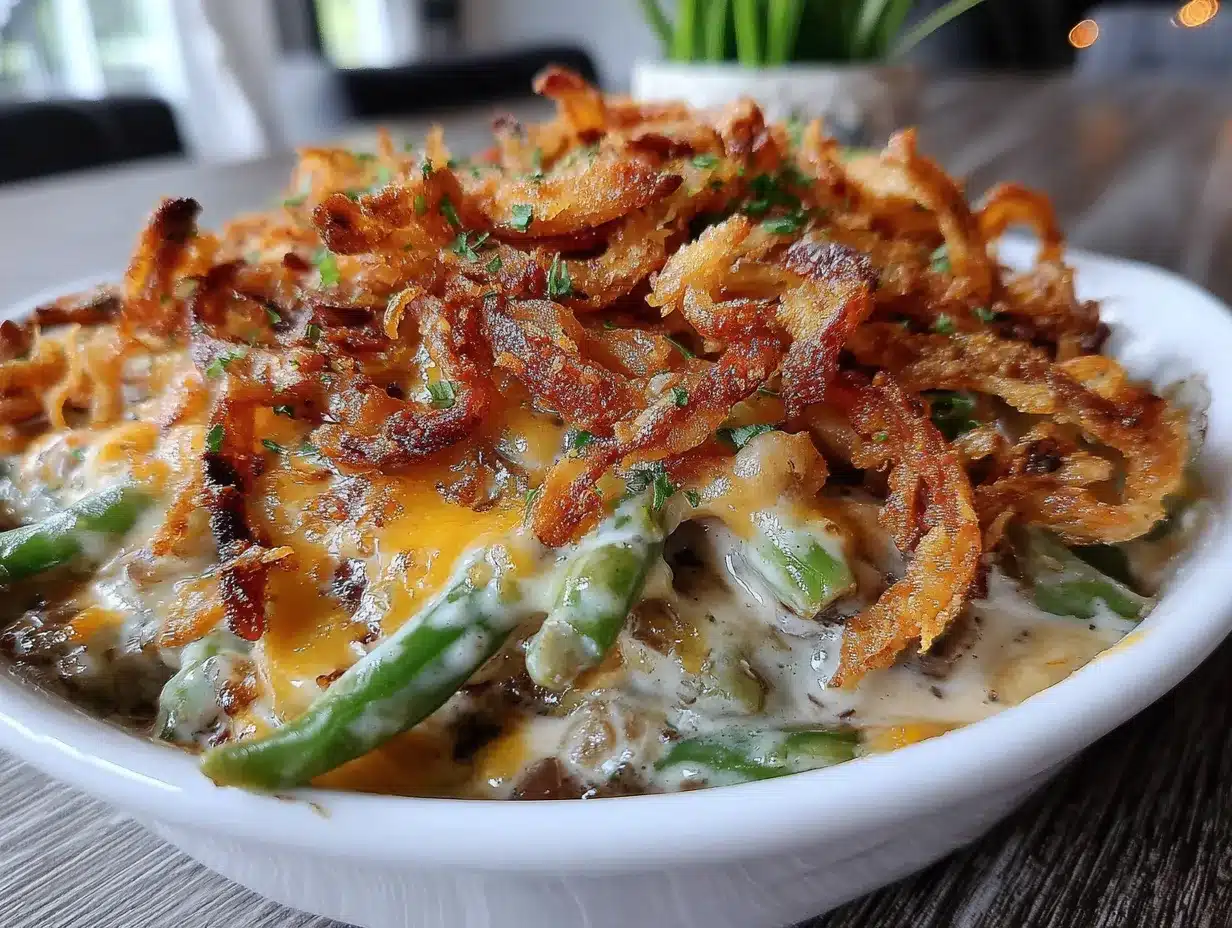
Alright, let’s get cooking. This comes together in a few simple steps, and I’ll walk you through each one with the little tips I’ve picked up along the way. The key is to multitask a bit—while the onions are baking, you can prep the sauce and beans.
- Preheat and Prep: Preheat your oven to 400°F (200°C). Bring a large pot of salted water to a boil. While it’s heating, trim the ends off your green beans and cut them into 2-inch pieces. Slice your onion into thin rings—as thin as you can get them. I like to use a mandoline for this, but a sharp knife works just fine. Just watch your fingers!
- Blanch the Green Beans: Once the water is boiling, drop in the green beans. Let them cook for just 3-4 minutes. You want them to be bright green and tender-crisp. They’ll finish cooking in the oven, so don’t overcook them now. Drain them in a colander and immediately run cold water over them to stop the cooking process. This is called “shocking” them. Set them aside to drain completely. Pat them dry with a paper towel if they’re still wet—excess water will make your casserole watery.
- Make the Onion Topping: While the beans are blanching, line a rimmed baking sheet with parchment paper. In a large bowl, combine the almond flour, gluten-free panko, salt, paprika, and garlic powder. Add the sliced onions and the olive oil. Use your hands to toss everything together, making sure the onions are well coated. I mean, get in there and really massage the coating into the onion rings. Spread the onions in a single layer on the prepared baking sheet. Don’t overcrowd them—if they’re piled up, they’ll steam instead of getting crispy. Bake for 10-12 minutes, stirring halfway through, until they are golden brown and crispy. Keep an eye on them—almond flour can burn quickly. They will crisp up more as they cool.
- Make the Creamy Sauce: In a large bowl, whisk together the gluten-free cream of mushroom soup, milk, tamari, garlic powder, and black pepper. Whisk until it’s completely smooth. Give it a taste and add a pinch of salt if needed. Remember, the tamari is salty, so be careful.
- Assemble the Casserole: Add the blanched and drained green beans to the bowl with the sauce. Gently fold everything together with a wooden spoon or spatula until the beans are evenly coated. Pour the mixture into your greased 9×13-inch baking dish and spread it into an even layer.
- Bake and Top: Bake the casserole (without the topping) for 15 minutes, until it’s bubbly and hot. This step is important—it ensures the casserole is heated through before you add the crispy topping. After 15 minutes, remove the dish from the oven and sprinkle the baked onion topping evenly over the top. Return it to the oven and bake for another 5-7 minutes, until the topping is extra crispy and the casserole is bubbling around the edges. The smell at this point is absolutely incredible.
- Rest and Serve: Let the casserole rest for about 5 minutes before serving. This allows the sauce to set up a little, so it’s not too runny. The topping will stay crisper if you add it right before the final bake, so don’t be tempted to add it at the beginning!
Troubleshooting Tip: If your topping is browning too quickly but the onions aren’t crispy yet, tent the baking sheet loosely with foil. This will slow down the browning while allowing the onions to continue drying out and crisping up.
Cooking Tips & Techniques
Over the years, I’ve made this casserole enough times to have a few spectacular failures—and learned from every single one. Here are the tips I wish I’d known from the start.
Don’t Skip Blanching the Beans. I know it’s an extra step, but it’s non-negotiable. Blanching sets the color, partially cooks the beans, and removes that raw, grassy taste. If you skip it, you’ll end up with a casserole that’s either undercooked or overcooked, and the texture will be off. Trust me, I tried it once. It was sad.
The Secret to a Non-Soggy Topping. The biggest mistake people make is adding the topping too early. It gets steamed and turns into a sad, chewy mess. By baking the topping separately and only adding it for the last 5 minutes of baking, you ensure it stays gloriously crispy. Also, make sure your onion rings are well-coated and spread in a single layer. Overcrowding is the enemy of crispiness.
Multitasking is Your Friend. This recipe is designed for efficiency. While the onions are baking, you can blanch the beans and make the sauce. While the casserole is doing its first bake, you can clean up the kitchen. This whole dish can be on the table in under 30 minutes if you plan your steps.
My Biggest Failure: The first time I made this, I used a gluten-free all-purpose flour blend for the topping instead of almond flour. It was… not good. It tasted raw and chalky. That’s when I learned that different gluten-free flours behave very differently. Almond flour is the way to go here for flavor and texture. Don’t substitute it with something like coconut flour or rice flour unless you know what you’re doing.
For Extra Flavor: Add a tablespoon of nutritional yeast to the sauce for a cheesy, savory depth. Or, stir in a handful of sautéed mushrooms before baking for an even more mushroom-forward flavor. I sometimes add a splash of dry sherry to the sauce for a little something extra—it’s amazing.
Variations & Adaptations
This recipe is a fantastic base, but don’t be afraid to make it your own. Here are a few variations I’ve tried and loved.
- Dairy-Free & Vegan: This is a super easy adaptation. Use a dairy-free cream of mushroom soup (like Imagine Foods), unsweetened oat milk or almond milk, and a dairy-free butter alternative for the topping (or just use more oil). The result is every bit as creamy and delicious. I’ve made this for a vegan friend’s Thanksgiving, and she couldn’t stop eating it.
- Add Some Protein: Turn this side dish into a main course! Add 1-2 cups of cooked, shredded chicken or turkey to the sauce along with the green beans. You could also add some cooked, crumbled bacon or pancetta for a smoky, savory twist. I once made this with leftover rotisserie chicken for a quick weeknight dinner, and it was fantastic.
- Spice It Up: For a little heat, add 1/4 teaspoon of cayenne pepper or a pinch of red pepper flakes to the sauce. Or, stir in a finely chopped jalapeño (seeds removed) along with the beans. The heat pairs wonderfully with the creamy sauce and the sweet, crispy onions.
- Seasonal Variations: In the fall, swap the green beans for roasted butternut squash or Brussels sprouts. In the spring, use asparagus or fresh peas. The creamy mushroom sauce and crispy onion topping are surprisingly versatile. I’ve even made this with a mix of green beans and roasted mushrooms for an extra earthy flavor.
- Herb It Up: Add a tablespoon of fresh thyme or rosemary to the sauce, or sprinkle some fresh parsley over the finished casserole. Fresh herbs add a brightness that cuts through the richness of the dish.
Serving & Storage Suggestions
This casserole is best served hot, fresh out of the oven, when the topping is at its crispiest and the sauce is bubbly. But that doesn’t mean leftovers aren’t delicious—they just need a little love.
Serving: Serve this as a side dish alongside roasted chicken, turkey, meatloaf, or a simple pan-seared steak. It also works beautifully as a vegetarian main course with a side of crusty gluten-free bread and a simple salad. I love serving it for Thanksgiving, but honestly, it’s so good that I make it for regular weeknight dinners too. The presentation is lovely right from the baking dish—just set it on the table with a serving spoon.
Storage: Store leftovers in an airtight container in the refrigerator for up to 4 days. The topping will lose its crispiness, but the flavor will still be great. To reheat, I recommend using the oven or an air fryer to try to revive some of that crunch. Place leftovers in a small baking dish and reheat at 350°F (175°C) for 10-15 minutes, until hot and bubbly. You can also use the microwave in a pinch, but the topping will be soft.
Freezing: This casserole freezes surprisingly well. Assemble the casserole completely (including the topping) but do not bake it. Cover the dish tightly with plastic wrap and then foil, and freeze for up to 3 months. To bake from frozen, remove the plastic wrap, cover with foil, and bake at 375°F (190°C) for 45 minutes. Then remove the foil and bake for another 15-20 minutes, until bubbly and hot. The topping won’t be quite as crispy as fresh, but it’s still a fantastic make-ahead option for the holidays.
Nutritional Information & Benefits
This recipe isn’t just delicious; it also has some surprising nutritional perks, especially when compared to the traditional version. While I’m not a nutritionist, I can share what I’ve learned from making this dish a regular part of my meal rotation.
Estimated Nutritional Values (per serving, based on 8 servings):
- Calories: ~220
- Fat: 14g
- Carbohydrates: 18g
- Fiber: 4g
- Protein: 6g
- Sugar: 6g
Health Benefits of Key Ingredients:
- Green Beans: These are a great source of vitamins A, C, and K, as well as fiber and folate. They’re low in calories and help keep you feeling full and satisfied.
- Almond Flour: Made from blanched almonds, this flour is rich in healthy fats, vitamin E, and magnesium. It’s a much more nutrient-dense option than refined wheat flour.
- Mushrooms: Even from the soup, they provide a source of B vitamins and selenium, an important antioxidant.
Dietary Considerations: This recipe is naturally gluten-free. It can easily be made dairy-free and vegan with simple substitutions. It is nut-free if you skip the almond flour and use all panko for the topping. It is egg-free. The main potential allergen is the almond flour, so be mindful of that for guests with tree nut allergies.
From a personal wellness perspective, I love that this casserole lets me enjoy a classic comfort food without the gluten that makes me feel terrible. It’s proof that “healthy” and “delicious” don’t have to be opposites.
Conclusion
So there you have it—my quick, gluten-free green bean casserole that started as a panic-induced potluck experiment and became a staple in my kitchen. It’s proof that you don’t need a pantry full of specialty ingredients or hours of free time to make something truly delicious. This recipe is for the busy nights, the last-minute dinner guests, and the holiday tables where everyone deserves a seat, regardless of their dietary needs.
I encourage you to make this recipe your own. Maybe you’ll add some crispy bacon, or a sprinkle of smoked paprika, or a handful of fresh thyme. The beauty of this dish is its flexibility. It’s a canvas for your own creativity. And honestly, the first time you pull a bubbling, golden casserole out of the oven that’s entirely gluten-free, you’ll feel like a kitchen rockstar.
I’d love to hear how it turns out for you! Drop a comment below and let me know if you tried any fun variations, or if this recipe saved you from a potluck panic of your own. And if you loved it, please share it with a friend who needs a little gluten-free comfort in their life. Happy cooking, and remember—sometimes the best recipes come from a little bit of chaos!
Frequently Asked Questions
Can I use canned green beans instead of fresh or frozen?
You can, but I really don’t recommend it. Canned green beans are already very soft and will turn into mush in the oven. The texture will be completely different. If you’re in a real pinch, drain them well and skip the blanching step, but fresh or frozen will give you a much better result.
What if I can’t find gluten-free cream of mushroom soup?
No problem! You can make a quick homemade version. Melt 2 tablespoons of butter (or dairy-free butter) in a saucepan. Whisk in 2 tablespoons of gluten-free all-purpose flour and cook for 1 minute. Slowly whisk in 1 cup of milk (or non-dairy milk) and 1 cup of finely chopped mushrooms. Cook until thickened, about 5 minutes. Season with salt, pepper, and a little garlic powder. This makes about the same amount as one can.
Can I make this casserole ahead of time?
Absolutely! You can assemble the casserole completely (without the topping) up to 24 hours in advance. Cover and refrigerate. When you’re ready to bake, add about 10 minutes to the first bake time to account for the cold casserole. Make the onion topping fresh on the day you serve it for the best crunch.
My onion topping didn’t get crispy. What went wrong?
There are a few common culprits. First, your onion slices might have been too thick. Thin slices dry out and crisp up much better. Second, you might have overcrowded the baking sheet. The onions need space for hot air to circulate. Third, your oven temperature might have been too low. Make sure it’s fully preheated to 400°F. Finally, make sure you patted the onion slices dry before coating them—excess moisture is the enemy of crispiness.
Is this recipe keto-friendly?
It can be made keto-friendly with a few adjustments. The main source of carbs is the green beans (which are relatively low-carb) and the gluten-free panko (which is not). To make it keto, skip the panko and use all almond flour for the topping. Also, use a full-fat coconut milk or heavy cream instead of regular milk in the sauce. This will reduce the carbs significantly.
Pin This Recipe!
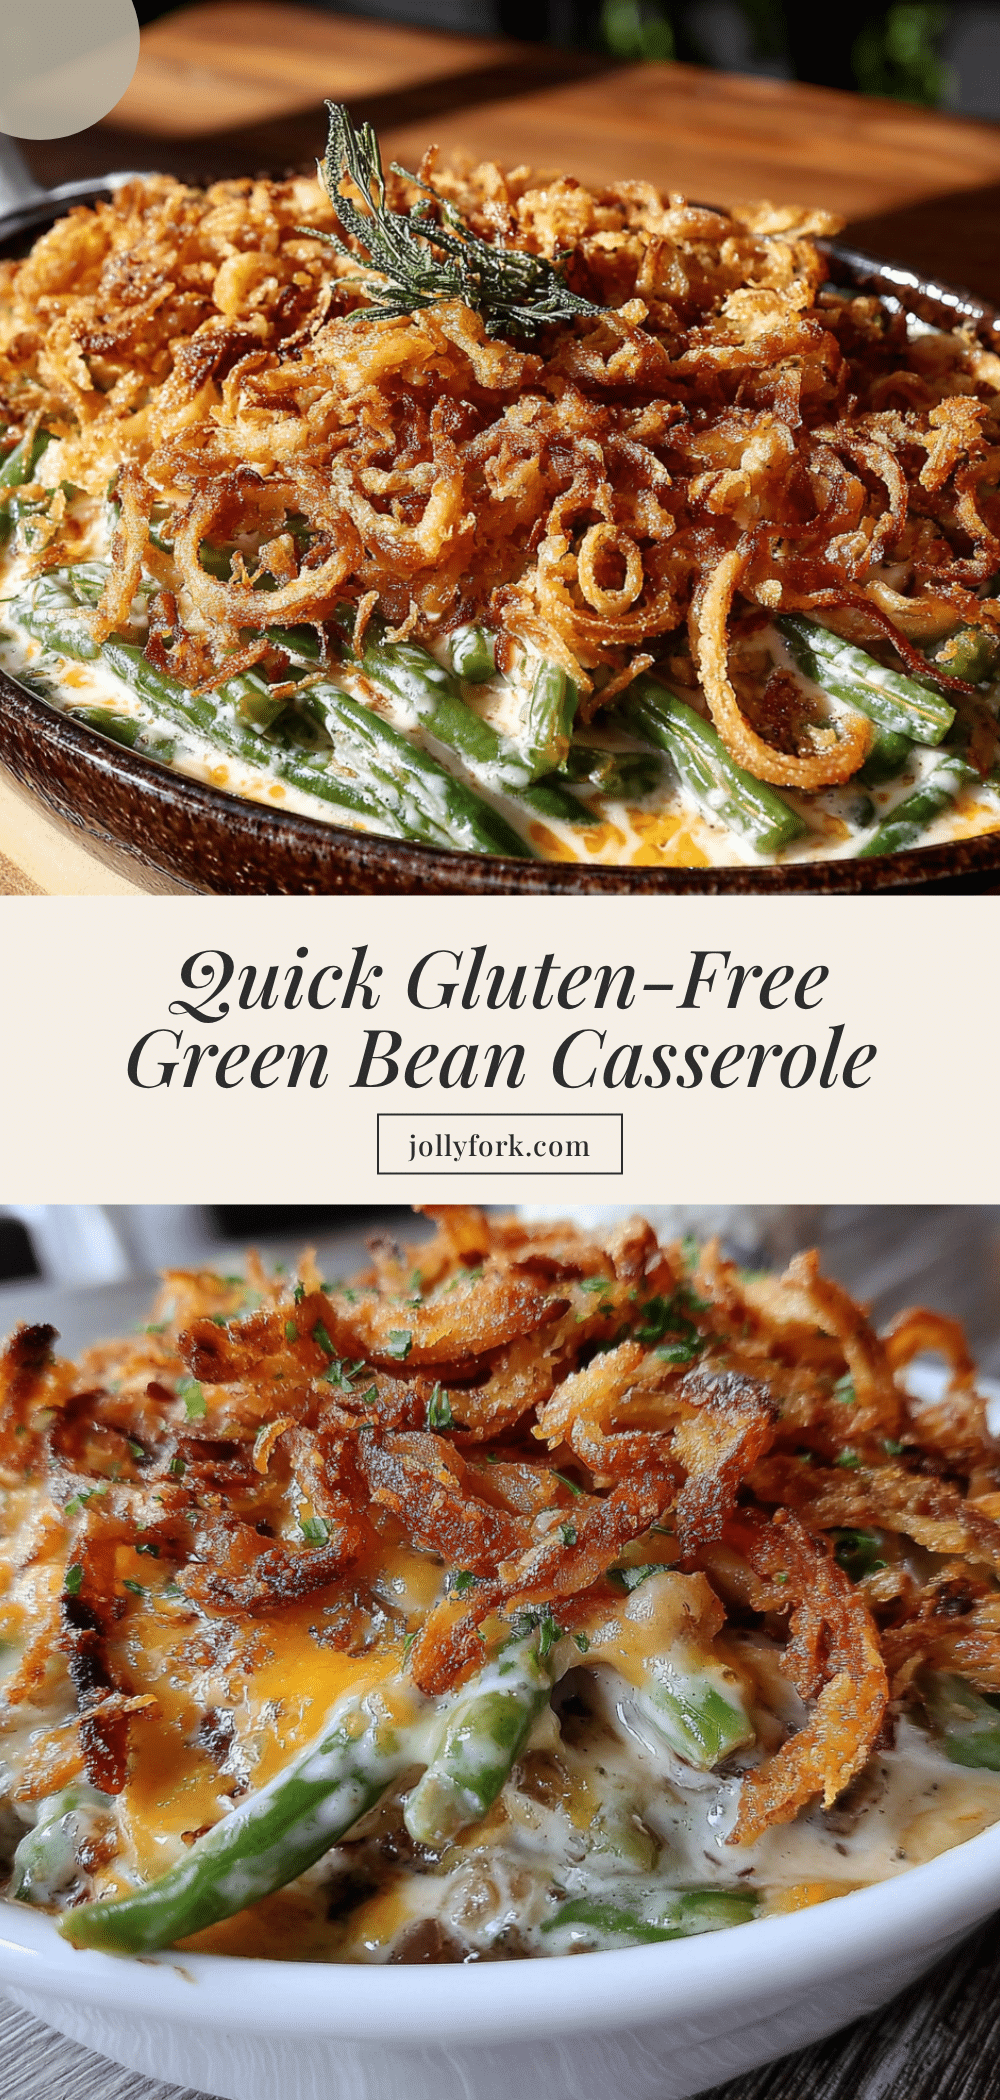
Quick Gluten-Free Green Bean Casserole
A quick and easy gluten-free green bean casserole with a homemade crispy onion topping. Perfect for weeknights, potlucks, and holiday dinners, this comforting side dish comes together in under 30 minutes using simple ingredients.
- Prep Time: 10 minutes
- Cook Time: 20 minutes
- Total Time: 30 minutes
- Yield: 8 servings 1x
- Category: Side Dish
- Cuisine: American
Ingredients
- 1.5 lbs (680g) fresh or frozen green beans, trimmed and cut into 2-inch pieces
- 1 can (10.5 oz / 298g) gluten-free cream of mushroom soup
- 1/2 cup (120ml) milk (any kind)
- 1 tablespoon tamari or gluten-free soy sauce
- 1/2 teaspoon garlic powder
- 1/4 teaspoon freshly ground black pepper
- Salt to taste (about 1/4 teaspoon)
- 1 large yellow onion, thinly sliced into rings
- 1/2 cup (60g) almond flour
- 1/2 cup (60g) gluten-free panko breadcrumbs
- 2 tablespoons olive oil or avocado oil
- 1/2 teaspoon salt
- 1/2 teaspoon paprika
- 1/4 teaspoon garlic powder
Instructions
- Preheat oven to 400°F (200°C). Bring a large pot of salted water to a boil. Trim green beans and cut into 2-inch pieces. Slice onion into thin rings.
- Blanch green beans in boiling water for 3-4 minutes until bright green and tender-crisp. Drain and immediately run under cold water to stop cooking. Pat dry.
- Line a rimmed baking sheet with parchment paper. In a large bowl, combine almond flour, gluten-free panko, 1/2 teaspoon salt, paprika, and 1/4 teaspoon garlic powder. Add sliced onions and olive oil; toss with hands until well coated. Spread in a single layer on prepared baking sheet.
- Bake onion topping for 10-12 minutes, stirring halfway, until golden brown and crispy. Watch carefully to prevent burning.
- In a large bowl, whisk together cream of mushroom soup, milk, tamari, 1/2 teaspoon garlic powder, and black pepper until smooth. Taste and add salt if needed.
- Add blanched green beans to the sauce and gently fold until evenly coated. Pour into a greased 9×13-inch baking dish and spread evenly.
- Bake casserole (without topping) for 15 minutes until bubbly and hot. Remove from oven and sprinkle baked onion topping evenly over the top.
- Return to oven and bake for another 5-7 minutes until topping is extra crispy and casserole is bubbling around the edges.
- Let rest for 5 minutes before serving. The topping stays crispiest when added just before the final bake.
Notes
For best results, don’t skip blanching the beans—it sets the color and texture. Bake the onion topping separately and add only for the last 5 minutes to keep it crispy. If topping browns too quickly, tent loosely with foil. For a dairy-free version, use dairy-free milk and cream of mushroom soup. For a nut-free version, replace almond flour with additional gluten-free panko. Leftovers can be stored in an airtight container in the refrigerator for up to 4 days; reheat in the oven at 350°F for 10-15 minutes to revive crispiness.
Nutrition
- Serving Size: 1 serving (about 1 c
- Calories: 220
- Sugar: 6
- Sodium: 480
- Fat: 14
- Saturated Fat: 2
- Carbohydrates: 18
- Fiber: 4
- Protein: 6
Keywords: gluten-free green bean casserole, quick green bean casserole, easy green bean casserole, gluten-free side dish, Thanksgiving side dish, potluck recipe, green bean casserole with homemade onion topping


