There used to be a tiny bakery tucked between a laundromat and a dusty antique shop on the edge of town that made the most unforgettable Halloween cookies. When they closed three years ago, I honestly felt a little crushed. Those spider cookies with their impossibly crispy chocolate legs were the highlight of every October, and I knew if I didn’t figure them out myself, I’d spend the rest of my life chasing that perfect spooky treat.
After twelve tries — and let me tell you, the first few were downright embarrassing — I finally cracked the code. The trick, it turns out, is all in how you temper the chocolate and the exact moment you press those legs into the cookie. Last Tuesday, I pulled a batch out of the oven and there they were: those same creepy-crawly legs, perfectly attached, with that satisfying snap when you bite into them. I may have squealed a little.
These Spooky Spider Cookies with Crispy Chocolate Legs are the kind of Halloween dessert that makes people stop mid-conversation. They’re not just cute — they’re genuinely delicious, with a soft, buttery peanut butter cookie base that contrasts perfectly with the crunchy chocolate legs. Honestly, if you’ve been looking for that one showstopper treat for your Halloween party, this is it. Maybe you’ve been there, scrolling through Pinterest for hours, trying to find something that actually looks as good as it tastes?
Why You’ll Love This Recipe
I’ve tested this recipe more times than I care to admit, and here’s what makes it stand out from every other Halloween cookie out there.
- Quick & Easy: These come together in under 45 minutes, including chilling time. Perfect for last-minute Halloween baking when you realize the party is tomorrow.
- Simple Ingredients: You probably have everything in your pantry right now. No fancy candy melts or specialty baking supplies needed.
- Perfect for Halloween Parties: These are the cookies that disappear first. Kids love them, adults sneak them, and everyone wants to know how you made those legs.
- Crowd-Pleaser: I’ve brought these to three different Halloween gatherings now, and they get rave reviews every single time. Even people who “don’t do Halloween” can’t resist.
- Unbelievably Delicious: The combination of soft peanut butter cookie and crispy chocolate is next-level. It’s not just a gimmick — it’s genuinely one of the best cookies I’ve ever made.
What makes this recipe different from all the other spider cookie recipes out there? It’s the technique. Most recipes end up with chocolate legs that fall off or get soft and bendy. I figured out the exact way to attach them so they stay crispy and intact, even after a day or two on the counter. This isn’t just another version — it’s the one that actually works.
This recipe is the kind that makes you close your eyes after the first bite. It’s comfort food with a spooky twist — familiar enough to feel like home, but creative enough to impress everyone at the party. Perfect for impressing guests without stress, or turning a simple Halloween treat into something memorable.
What Ingredients You Will Need
This Spooky Spider Cookies recipe uses simple, wholesome ingredients to deliver that perfect combination of soft cookie and crispy chocolate legs. Most of these are pantry staples, which makes this an easy last-minute Halloween project.
- 1 cup creamy peanut butter (I recommend Skippy or Jif for best texture — natural peanut butter can separate and make the cookies greasy)
- 1 cup granulated sugar (plus extra for rolling)
- 1 large egg (room temperature works best for even mixing)
- 1 teaspoon vanilla extract (pure vanilla adds a deeper flavor, but imitation works fine)
- 1 cup semi-sweet chocolate chips (I prefer Ghirardelli for that perfect snap when the legs break)
- 1 tablespoon coconut oil (this is the secret to getting the chocolate thin enough to pipe into legs — don’t skip it)
- Candy eyes (available at most craft stores or online — about 24 pairs for this batch)
A few notes from my testing: The peanut butter is the backbone of these cookies, so don’t use the natural stuff that separates. You need the stabilizers in regular peanut butter to get that soft, chewy texture. For the chocolate, I’ve tried milk chocolate and dark chocolate, but semi-sweet gives the best contrast with the sweet cookie. If you’re dairy-free, use dairy-free chocolate chips — they work just as well.
The coconut oil is non-negotiable here. I learned that the hard way on attempt number four when my chocolate was too thick to pipe into thin legs. The coconut oil thins it out just enough to make those delicate spider legs without making the chocolate greasy. You can use vegetable oil in a pinch, but coconut oil gives a slightly better snap when it sets.
Equipment Needed
You don’t need anything fancy for these Spooky Spider Cookies, but a few specific tools make the process much smoother.
- Baking sheets (two standard size sheets work best — you’ll get about 24 cookies)
- Parchment paper (non-stick is crucial for the chocolate legs — don’t use wax paper)
- Mixing bowls (one medium, one small)
- Electric mixer (hand mixer or stand mixer both work — I’ve used my old hand mixer for years and it’s fine)
- Piping bag or zip-top bag (for the chocolate legs — a small zip-top bag with the corner snipped works perfectly)
- Wire cooling rack (essential for letting the chocolate set properly)
- Fork (for the classic crisscross pattern on the cookies)
If you don’t have a piping bag, don’t worry. I’ve made these with a sandwich bag and a pair of scissors more times than I can count. Just make sure you snip a very small hole — you want thin legs, not thick stumps. I learned that one the hard way on attempt number seven.
Preparation Method
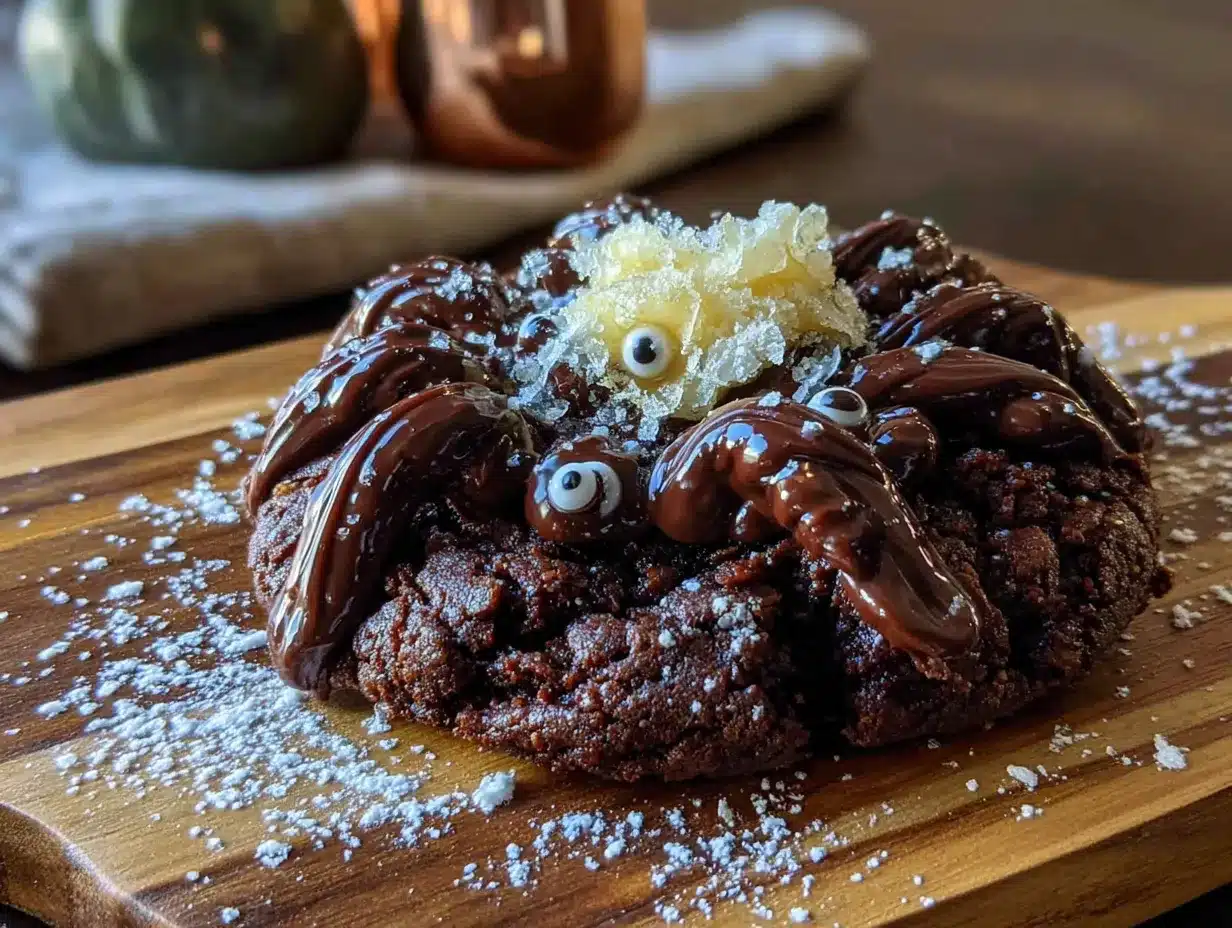
Let me walk you through exactly how to make these Spooky Spider Cookies. I’ve refined this method over twelve attempts, so trust me on the details.
- Preheat your oven to 350°F (175°C) and line two baking sheets with parchment paper. This gives the cookies a clean surface to bake on and makes cleanup so much easier.
- Make the cookie dough. In a medium mixing bowl, combine 1 cup creamy peanut butter, 1 cup granulated sugar, 1 large egg, and 1 teaspoon vanilla extract. Beat with an electric mixer on medium speed until smooth and well combined — about 2 minutes. The dough will be soft and slightly sticky, which is exactly what you want.
- Chill the dough. Cover the bowl with plastic wrap and refrigerate for 20 minutes. This step is crucial — I skipped it on attempt three and ended up with flat, sad cookies that spread all over the pan. Chilling firms up the peanut butter and keeps the cookies thick and soft.
- Shape the cookies. Scoop out rounded tablespoons of dough (about 1.5 inches in diameter) and roll them into balls. Roll each ball in granulated sugar until coated — this gives them that sparkly, slightly crunchy exterior. Place them on the prepared baking sheets about 2 inches apart. You should get about 24 cookies.
- Create the crisscross pattern. Dip a fork in sugar (to prevent sticking) and press down gently on each cookie ball, making a crisscross pattern. This flattens them slightly and gives them that classic peanut butter cookie look. Don’t press too hard — you want them about 1/4 inch thick.
- Bake the cookies. Bake for 8-10 minutes, or until the edges are just set and lightly golden. The centers will look slightly soft — that’s perfect. Overbaking makes them dry and crumbly. Remove from the oven and let them cool on the baking sheets for 5 minutes, then transfer to a wire cooling rack to cool completely.
- Make the chocolate legs. While the cookies cool, combine 1 cup semi-sweet chocolate chips and 1 tablespoon coconut oil in a small microwave-safe bowl. Microwave in 30-second intervals, stirring between each, until smooth and fully melted. This usually takes about 1-2 minutes total. Be careful not to overheat — burnt chocolate is a disaster.
- Pipe the legs. Transfer the melted chocolate to a piping bag or a small zip-top bag with a tiny corner snipped off. Working with one cookie at a time, pipe four thin lines of chocolate on each side of the cookie to create eight legs. Make them slightly curved for a more realistic spider look. Work quickly — the chocolate sets fast.
- Add the eyes. Before the chocolate sets, gently press two candy eyes onto the top of each cookie. The chocolate will act as glue. If you don’t have candy eyes, you can pipe small dots of white chocolate and add a tiny dot of dark chocolate in the center — but honestly, the candy eyes are worth the trip to the store.
- Let the chocolate set. Place the cookies on a wire rack or parchment-lined tray and let them sit at room temperature until the chocolate is fully set — about 30 minutes. For faster setting, pop them in the refrigerator for 10 minutes. The legs should be firm and snappy when you bite into them.
Cooking Tips & Techniques
After twelve rounds of trial and error, I’ve collected a few hard-won tips that will save you from my mistakes.
The chocolate temperature matters more than you think. On attempt number five, I got impatient and tried to pipe the legs while the chocolate was still too warm. They ran all over the cookies and looked more like chocolate puddles than spider legs. Let the chocolate cool for about 5 minutes after melting — it should be warm but not hot. You want it fluid enough to pipe but thick enough to hold its shape.
Don’t skip the chilling step. I know it’s tempting to rush, but those 20 minutes in the fridge make a huge difference. The first time I made these, I skipped it and ended up with cookies that spread into flat, greasy disks. The chilled dough holds its shape and gives you those thick, soft centers that make these cookies so good.
Pipe the legs in one continuous motion. Start at the center of the cookie and pull the chocolate outward in a slight curve. If you stop and start, you’ll get blobs instead of legs. Practice on a piece of parchment paper first if you’re nervous. I did — and it saved me from ruining a whole batch.
Work in batches. Don’t try to pipe all 24 cookies at once. Pipe 6-8 cookies, add the eyes, then let them set before moving to the next batch. The chocolate sets faster than you think, and rushing leads to messy legs. Trust me on this one — attempt number eight was a chocolate disaster.
Store them carefully. These Spooky Spider Cookies are surprisingly sturdy once the chocolate sets, but they’re not indestructible. Store them in a single layer in an airtight container at room temperature. Stacking them will break the legs — I learned that the hard way when I tried to pack them for a party.
Variations & Adaptations
One of the best things about this recipe is how adaptable it is. Here are a few variations I’ve tried and loved.
Gluten-Free Version: This recipe is naturally gluten-free since it uses peanut butter instead of flour. Just make sure your chocolate chips and candy eyes are certified gluten-free if you’re serving someone with celiac disease. I made these for my gluten-intolerant neighbor last year, and she was thrilled to have a Halloween treat she could actually eat.
Dark Chocolate Legs: If you prefer a less sweet cookie, swap the semi-sweet chocolate chips for dark chocolate (60-70% cacao). The bitterness of the dark chocolate pairs beautifully with the sweet peanut butter cookie. I tried this on attempt number ten and honestly, it might be my new favorite version.
White Chocolate Spiders: For a totally different look, use white chocolate chips instead of semi-sweet. The white legs against the golden cookie are striking, and you can use dark chocolate for the eyes instead of candy eyes. It gives the cookies a more elegant, less cartoonish look — perfect for adult Halloween parties.
Peanut-Free Option: You can substitute sunflower seed butter or almond butter for the peanut butter. Just note that the texture will be slightly different — sunflower seed butter tends to be a bit runnier, so you may need to chill the dough for an extra 10 minutes. I tested this with almond butter on attempt number six, and while the flavor was different, the cookies were still delicious.
Spicy Spider Cookies: Add 1/4 teaspoon of cayenne pepper to the cookie dough for a spicy-sweet kick. The heat sneaks up on you after the first bite, which is honestly kind of fun for Halloween. I tried this on a whim last year and it was a hit with the adults at the party.
Serving & Storage Suggestions
These Spooky Spider Cookies are best served at room temperature, which lets the chocolate legs stay perfectly snappy. Arrange them on a platter with some fake spiderwebs or plastic spiders for maximum Halloween effect. I like to serve them alongside a glass of cold milk or a warm mug of apple cider — the contrast is perfect.
For storage, place the cookies in a single layer in an airtight container at room temperature. They’ll stay fresh for up to 5 days, though the chocolate legs may start to soften slightly after day three. If that happens, pop them in the refrigerator for 10 minutes before serving to re-crisp the chocolate.
You can also freeze these cookies for up to 3 months. Place them in a single layer on a baking sheet and freeze until solid (about 2 hours), then transfer to a freezer-safe container with parchment paper between layers. To serve, thaw at room temperature for about 30 minutes. The chocolate legs will be just as crispy as the day you made them.
One thing I love about these cookies is that the flavors actually develop over time. The peanut butter gets deeper and more pronounced after a day or two, so if you can resist eating them all immediately, they’ll taste even better on day two. Not that I’ve ever managed to wait that long.
Nutritional Information & Benefits
Each Spooky Spider Cookie (based on a batch of 24) contains approximately 165 calories, 10g fat, 18g carbohydrates, and 5g protein. These numbers will vary slightly depending on the specific brands you use and the size of your cookies.
The peanut butter in these cookies provides a good source of protein and healthy fats, which helps keep you feeling satisfied. Peanut butter also contains vitamin E, magnesium, and potassium — not bad for a Halloween treat. The dark chocolate (if you use semi-sweet or dark) contains antioxidants called flavonoids, which have been linked to heart health benefits.
These cookies are naturally gluten-free, making them a great option for those with gluten sensitivities. However, they do contain peanuts and dairy (in the chocolate chips), so they’re not suitable for everyone. Always check your ingredient labels if you’re serving someone with allergies.
From a wellness perspective, I love that these cookies feel indulgent without being overly processed. They’re made from real ingredients that you can recognize and pronounce. Sure, they’re still a treat — but they’re a treat you can feel good about serving to your family and friends.
Conclusion
These Spooky Spider Cookies with Crispy Chocolate Legs are everything I hoped they’d be when I started this obsessive quest to recreate that bakery’s recipe. They’re fun, they’re delicious, and honestly, they’re a little bit magical. The way those chocolate legs snap when you bite into them still makes me smile every single time.
I hope you’ll try making these for your next Halloween party or spooky movie night. Don’t be afraid to customize them — swap the chocolate, try different nut butters, or add a little spice if that’s your thing. The best recipes are the ones you make your own.
I’d love to hear how yours turn out! Drop a comment below and let me know if your spider legs stayed crispy, or if you came up with a fun variation I should try. And if you share them on social media, tag me — I want to see your spooky creations. Happy Halloween, and happy baking!
Frequently Asked Questions
Can I make these spider cookies ahead of time?
Absolutely! You can make them up to 3 days in advance and store them in an airtight container at room temperature. For longer storage, freeze them for up to 3 months.
Why did my chocolate legs fall off?
This usually happens if the chocolate wasn’t warm enough when you piped it, or if the cookies weren’t completely cool. Make sure your cookies are at room temperature and your chocolate is warm but not hot for best adhesion.
Can I use natural peanut butter?
I don’t recommend it. Natural peanut butter separates and has a different fat content, which can make the cookies greasy and cause them to spread too much. Stick with regular creamy peanut butter for best results.
How do I get the legs to be thin and crispy?
The key is the coconut oil — it thins the chocolate just enough to pipe thin legs. Also, make sure you snip a very small hole in your piping bag. A larger hole will give you thick, clunky legs that don’t look as realistic.
Can I use milk chocolate instead of semi-sweet?
Yes, but the cookies will be significantly sweeter. Milk chocolate also doesn’t set as firmly as semi-sweet, so the legs may be slightly softer. If you use milk chocolate, add an extra teaspoon of coconut oil to help it set properly.
Pin This Recipe!
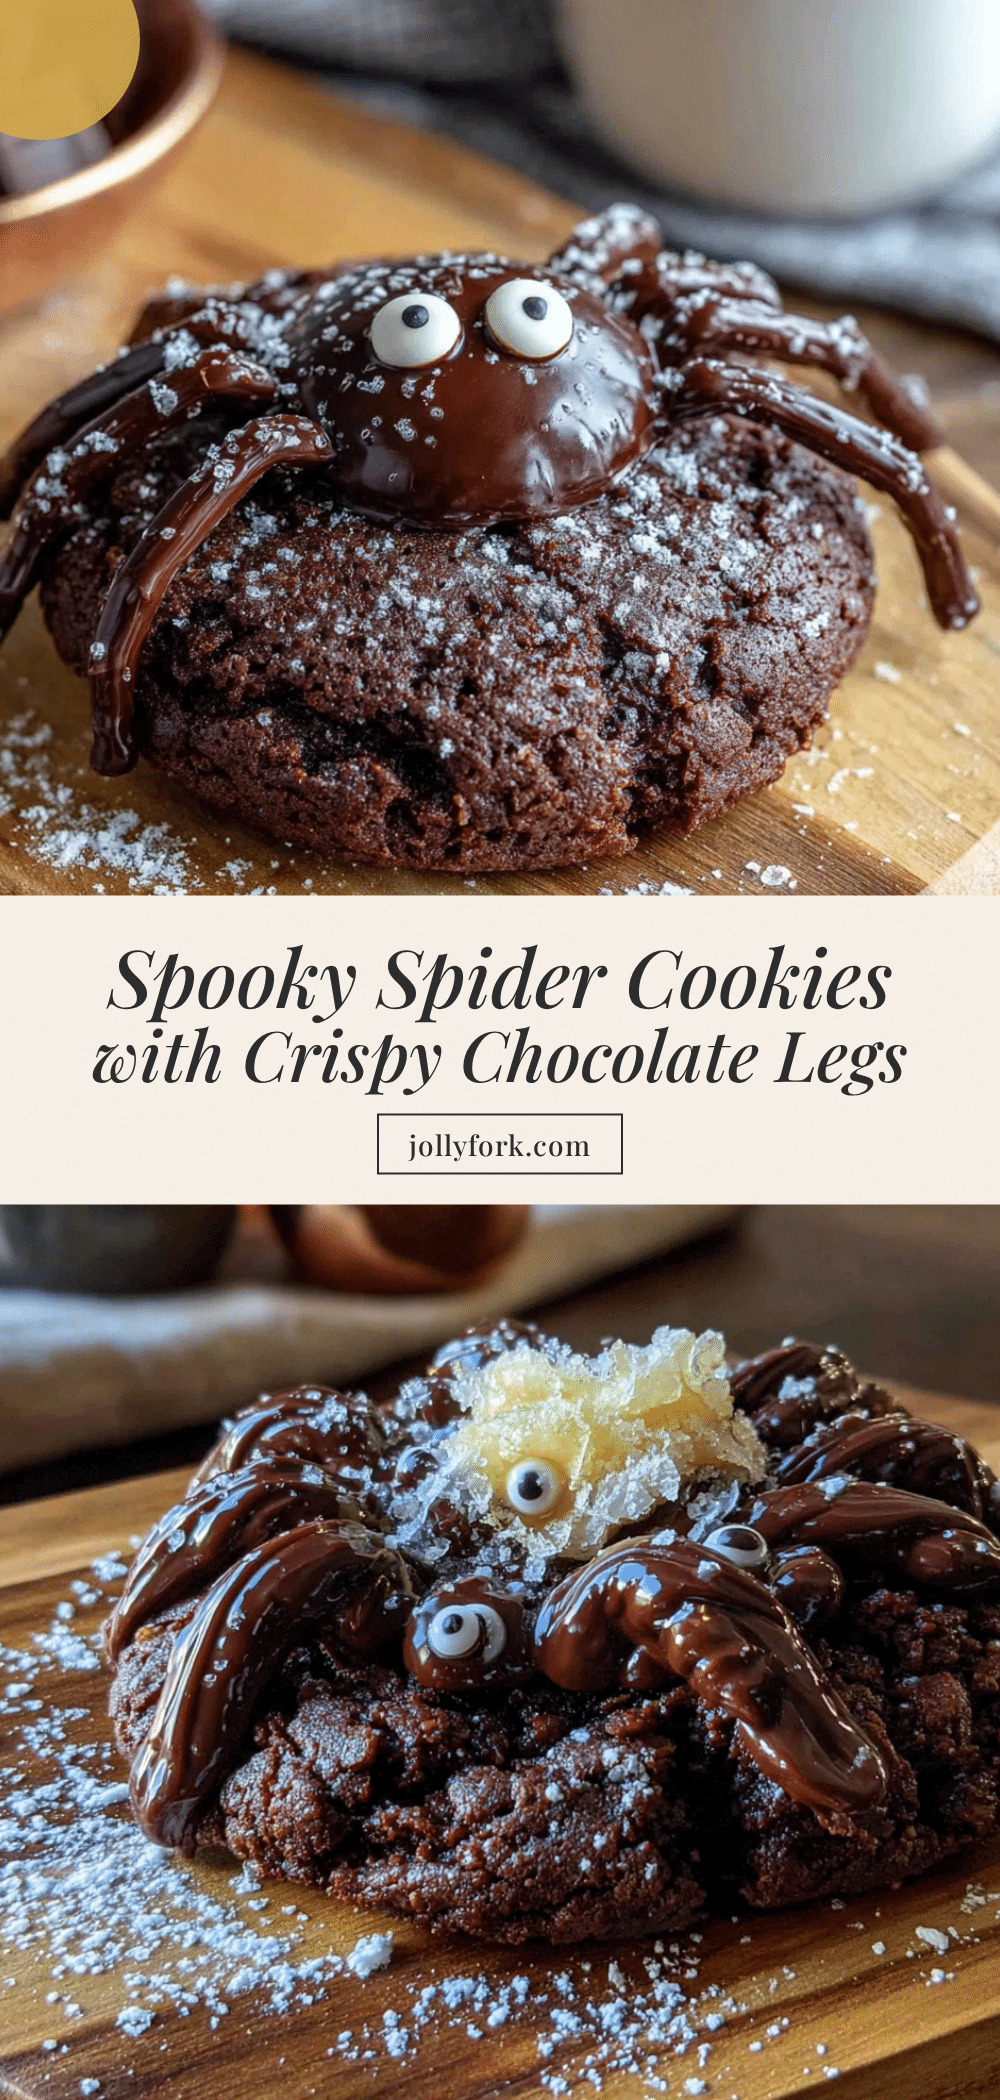
Spooky Spider Cookies with Crispy Chocolate Legs
These Spooky Spider Cookies with Crispy Chocolate Legs are the perfect Halloween treat, featuring a soft, buttery peanut butter cookie base topped with crunchy chocolate legs and candy eyes. They’re quick to make, use simple ingredients, and are sure to be a crowd-pleaser at any Halloween party.
- Prep Time: 20 minutes
- Cook Time: 10 minutes
- Total Time: 45 minutes
- Yield: 24 servings 1x
- Category: Dessert
- Cuisine: American
Ingredients
- 1 cup creamy peanut butter (Skippy or Jif recommended)
- 1 cup granulated sugar (plus extra for rolling)
- 1 large egg (room temperature)
- 1 teaspoon vanilla extract
- 1 cup semi-sweet chocolate chips (Ghirardelli recommended)
- 1 tablespoon coconut oil
- Candy eyes (about 24 pairs)
Instructions
- Preheat your oven to 350°F (175°C) and line two baking sheets with parchment paper.
- In a medium mixing bowl, combine 1 cup creamy peanut butter, 1 cup granulated sugar, 1 large egg, and 1 teaspoon vanilla extract. Beat with an electric mixer on medium speed until smooth and well combined, about 2 minutes.
- Cover the bowl with plastic wrap and refrigerate for 20 minutes.
- Scoop out rounded tablespoons of dough (about 1.5 inches in diameter) and roll them into balls. Roll each ball in granulated sugar until coated. Place them on the prepared baking sheets about 2 inches apart. You should get about 24 cookies.
- Dip a fork in sugar and press down gently on each cookie ball, making a crisscross pattern. Don’t press too hard — you want them about 1/4 inch thick.
- Bake for 8-10 minutes, or until the edges are just set and lightly golden. Remove from the oven and let them cool on the baking sheets for 5 minutes, then transfer to a wire cooling rack to cool completely.
- While the cookies cool, combine 1 cup semi-sweet chocolate chips and 1 tablespoon coconut oil in a small microwave-safe bowl. Microwave in 30-second intervals, stirring between each, until smooth and fully melted (about 1-2 minutes total).
- Transfer the melted chocolate to a piping bag or a small zip-top bag with a tiny corner snipped off. Working with one cookie at a time, pipe four thin lines of chocolate on each side of the cookie to create eight legs. Make them slightly curved for a more realistic spider look.
- Before the chocolate sets, gently press two candy eyes onto the top of each cookie.
- Place the cookies on a wire rack or parchment-lined tray and let them sit at room temperature until the chocolate is fully set, about 30 minutes. For faster setting, refrigerate for 10 minutes.
Notes
The coconut oil is non-negotiable for thin, crispy legs. Chill the dough for at least 20 minutes to prevent spreading. Pipe legs in one continuous motion and work in batches to avoid chocolate setting too quickly. Store in a single layer in an airtight container at room temperature for up to 5 days, or freeze for up to 3 months.
Nutrition
- Serving Size: 1 cookie
- Calories: 165
- Sugar: 14
- Sodium: 85
- Fat: 10
- Saturated Fat: 3.5
- Carbohydrates: 18
- Fiber: 1
- Protein: 5
Keywords: Halloween cookies, spider cookies, peanut butter cookies, chocolate legs, spooky treats, easy Halloween dessert


